
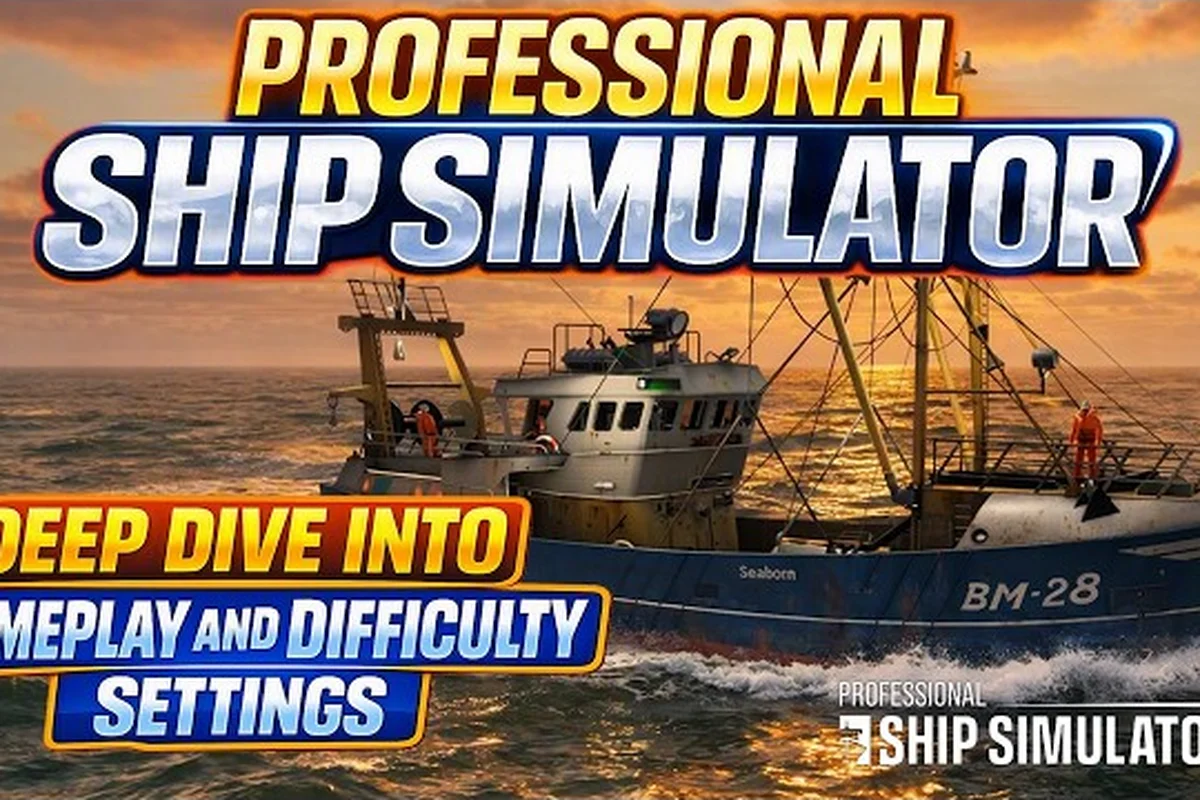
Getting the bridge controls to feel right in Professional Ship Simulator means tuning the professional ship simulator axes alongside your telegraph, HDR output, and accessibility options. Misaligned inputs break docking precision, washed-out HDR hides nav markers, and oversized UI on ultrawide monitors can bury the very readouts you need mid-manoeuvre. This guide walks through every input, display, and accessibility knob that affects how the wheelhouse feels under your hands, so the bridge works the way you expect instead of fighting you. To that end, calibrating the feel of the wheel itself is covered first, then the way each control surfaces in the HUD layers described next, so if you want the full taxonomy of every lever, dial, and button by station you can step into Professional Ship Simulator Controls once you have the philosophy clear.
Bridge Input Foundations for Professional Ship Simulator Axes
Before touching individual controls, it helps to understand how Professional Ship Simulator wires your hardware into the wheelhouse. The game treats rudder, thruster, and telegraph as separate axis channels, each of which can be remapped, inverted, and dead-zoned. According to the Professional Ship Simulator Steam store page, the title is built around a clickable bridge panel that mirrors a real ship's layout, so axis assignments should follow the physical position of each instrument on your desk.
Axis Channels and What They Drive
The engine exposes several logical axis channels that you can bind independently. The telegraph lever, for example, usually deserves a rotary controller or axis with a wide throw so you can call engine orders with one hand while the other holds the rudder. Mapping a small joystick to the rudder and a throttle quadrant to the engine order telegraph feels closer to a real console than a shared axis on a gamepad.
| Axis Channel | Default Behaviour | Recommended Binding | Sensitivity Notes |
|---|---|---|---|
| Rudder | Steering angle, full swing on deflection | Stick or wheel, 100% range | Lower centre dead-zone for fine course corrections |
| Engine Telegraph | Ahead / Astern command order | Throttle quadrant, full throw | Add a small dead-zone at the centre to stop stop-engine drift |
| Bow Thruster | Lateral push, port or starboard | Secondary axis, 80% range | Higher saturation helps in tight locks |
| Combined Rudder | Steering + thruster mix | Optional, for gamepads | Curve recommended to flatten mid-range |
| Camera Look | Free-look on bridge panels | Mouse, raw input | Keep acceleration off for accurate panel clicks |
Setting professional ship simulator axes on a dedicated HOTAS or a wheel plus quadrant set gives the cleanest separation of channels. If you only have a gamepad, the combined rudder mode plus a separate trigger for thruster keeps the wheelhouse usable, although you will trade some fine control in confined locks.
Inversion, Dead Zones, and Response Curves
Inversion matters most for the rudder because the game uses push-left to turn left by default. Players using a right-handed joystick often prefer inversion so the rudder follows the natural direction of the hand. The telegraph should almost never be inverted: a forward push means ahead, and reversing the response curve will silently reverse your engine order during a panic stop.
Dead zones keep the rudder from drifting when your hand rests at centre, and they keep the telegraph from registering stop-engine while you hold the lever near midships. A 5% centre dead-zone is usually enough for an analog stick, while a higher-quality wheel or quadrant can run a 1-2% dead-zone for sharper response. Response curves let you flatten the early part of an axis for precise small deflections, then ramp quickly as you push further, which is helpful when you want to nudge a buoy without spinning the bow.
Telegraph and Engine Order Calibration
The engine telegraph is the single most important control on the bridge, and getting the professional ship simulator telegraph dialed in changes how every manoeuvre feels. The telegraph converts your lever position into a command order that the engine room then fulfils over several seconds, so the axis you bind to it must be both linear and predictable.
Mapping the Telegraph to Real Hardware
A real bridge telegraph has detents at Stop, Dead Slow, Slow, Half, Full, and Emergency, with a separate channel for astern orders. The in-game lever mirrors that layout, so bind the axis to a controller with physical detents when possible. A Thrustmaster TCA quadrant, Logitech/Saitek quadrant, or any rotary encoder with software-defined detents all read the professional ship simulator telegraph correctly without extra plugins.
| Hardware Option | Detent Feel | Software Setup | Best Use Case |
|---|---|---|---|
| Throttle Quadrant | Hardware detents, firm | Map to Engine Telegraph axis | Desktop bridge, long sessions |
| Rotary Encoder | Programmable clicks | Bind via joystick mapper | Custom wheelhouse panels |
| Gamepad Trigger | Smooth analog | Add 10% dead-zone, linear curve | Casual play, no extra hardware |
| Keyboard Emulation | None, digital steps | Map keys to Ahead / Astern orders | Fallback when no controller is present |
Once the lever is bound, the next step is calibrating its range inside the game. Pull the lever to full ahead and confirm the HUD telegraph indicator reads Full; push to full astern and confirm it reads Emergency Astern. If either endpoint clips early, raise the axis saturation in the input settings until the in-game lever reaches both extremes at the physical limits of your hardware.
Response Curves for the Engine Order
Linear curves work for most captains because the telegraph directly reflects your lever position. If your hardware feels twitchy at low power, a gentle ease-in curve softens the first 20% of travel so Dead Slow feels like a true crawl rather than a sudden jump to Slow. Conversely, if you frequently call emergency astern, an ease-out curve at the top of the range ensures you can slam the lever to the stops without overshooting.
Because the telegraph issues a command order rather than directly setting propeller RPM, the in-game engine response is asynchronous. A captain who keeps the lever at Full for too long during a lock entry will see the ship carry way well past the intended position, so a predictable axis curve is more valuable than an aggressive one. Most experienced players settle on a near-linear curve with a 5% dead-zone at the centre, then rely on early telegraph calls rather than late corrections.
HDR, Ultrawide, and Subtitle Display Tuning
Display tuning is just as important as input tuning. The bridge panels in Professional Ship Simulator pack a lot of information into a small area, and the wrong colour space or aspect ratio will bury the readouts you need during a harbour approach. The three areas to focus on are HDR calibration, ultrawide aspect support, and subtitle sizing.
HDR Calibration on Your Bridge Monitor
HDR is a strong fit for a sim like this because the bridge combines dark consoles with bright daylight through the windows. The professional ship simulator hdr toggle enables the engine's high-dynamic-range pipeline, but the result depends heavily on your monitor's peak brightness and tone-mapping mode. On a typical 1000-nit display, leave the in-game HDR brightness slider at its default; on a 600-nit office monitor, drop the slider to around 70% to avoid clipping the bright window highlights.
| Display Type | Recommended HDR Brightness | Tone Mapping | Notes |
|---|---|---|---|
| 1000-nit HDR monitor | 100% (default) | HLG or HDR10 | Use for daylight coastal runs |
| 600-nit HDR monitor | 65-75% | HDR10 | Compensate for lower peak |
| SDR monitor | HDR toggle off | n/a | Use SDR gamma 2.2 instead |
| OLED TV | 80% | HDR10 with ABL off | Avoid burn-in by dimming static panels |
Community testing on the Professional Ship Simulator Steam Community suggests that turning off in-game bloom while leaving HDR on sharpens radar and AIS readouts, which is helpful during a foggy pilot embark. If you find the bridge windows too bright during night operations, lower the per-scene exposure rather than disabling HDR entirely.
Ultrawide Aspect and Field of View
The professional ship simulator ultrawide support lets the bridge span the full width of a 21:9 or 32:9 monitor, which is where the clickable console layout really shines. With a 3440x1440 panel, the centre instrument cluster sits in your natural eye line, while chart plotter and radar panels extend into peripheral vision. The default horizontal FOV works well for 21:9; on 32:9 you may want to widen the FOV by 5-10 degrees so the far edges of the bridge do not feel stretched.
| Aspect Ratio | Resolution | FOV Suggestion | UI Scaling |
|---|---|---|---|
| 16:9 | 2560x1440 | Default | 100% |
| 21:9 ultrawide | 3440x1440 | Default | 100% |
| 32:9 super-ultrawide | 5120x1440 | Default +5-10° | 100-110% |
| 4K | 3840x2160 | Default | 125% for readability |
If the instrument labels look small on a 4K panel, raise the UI scale to 125% rather than the Windows DPI scaling, because the in-game UI scale keeps panel click targets accurate. For players using a triple-monitor setup, the FOV will need a larger increase and the bridge windows may curve; in that case, reducing the camera FOV smoothing helps the wheelhouse feel solid instead of rubbery.
Subtitle Sizing and On-Screen Text
Dialogue from harbour control and crew members appears as subtitles during scripted briefings, and the professional ship simulator subtitles settings let you resize and reposition them so they never overlap the radar or chart plotter. A subtitle background opacity of around 50% keeps the text legible without obscuring the bridge, while a font scale of 110-125% works on 1440p and 4K panels respectively.
If you operate a lot of panel click work while dialogue is playing, push the subtitle anchor to the lower third of the screen and shrink the width so the text never crosses the central engine order indicator. For captains with smaller monitors, a font scale of 150% combined with bold text makes subtitles readable from a chair's distance, which is helpful during long coastal transits where briefings can run several minutes.
Accessibility Options for the Bridge
A clickable bridge is a great accessibility feature by default because every readout is also a clickable target, but the game layers in additional options for players who need them. The professional ship simulator accessibility menu covers input remapping, colour-blind modes, and motion sensitivity, all of which matter when you are spending hours in the wheelhouse.
Input Accessibility
The remap system lets you bind any axis or button to any in-game action, including the bow thruster, engine order telegraph, and rudder combined mode. Players with limited hand mobility can move the rudder to a foot pedal and the thruster to a single button press, while the engine telegraph shifts to keyboard keys. Because the professional ship simulator axes remap is per-action rather than per-device, you can mix devices freely, which is rare in the sim genre.
| Accessibility Need | Recommended Remap | Additional Setting |
|---|---|---|
| Limited hand mobility | Rudder on foot pedal, thruster on button | Enable hold-to-toggle for thruster |
| One-handed play | Combined rudder mode, telegraph on throttle | Increase rudder saturation to 110% |
| Gamepad-only | Combined rudder + trigger thruster | Linear curve, 8% centre dead-zone |
| Keyboard fallback | WASD rudder, QE thruster, F ahead / R astern | Enable key repeat smoothing |
Motion sensitivity is the other big lever under the accessibility umbrella. Some players experience discomfort with strong camera shake during heavy weather, and the engine exposes a separate motion sickness slider that dampens shake without removing the visual cue entirely. If you find the FOV changes during camera pans uncomfortable, drop the FOV change smoothing to 0% so the view moves instantly instead of easing, which some players find easier to track.
Visual and Audio Accessibility
Colour-blind modes are present for protanopia, deuteranopia, and tritanopia, and they remap the nav marker palette so channel buoys, danger marks, and safe-water marks stay distinguishable. Combined with HDR, this gives a clean signal for harbour entries, even at dusk. The audio side covers separate volume sliders for engine room noise, bridge ambience, and radio chatter, which is helpful for captains who want to keep harbour control loud and engine room quiet while reading subtitles.
Subtitle accessibility ties back into the professional ship simulator subtitles menu. Beyond size and position, you can enable speaker labels so you always know whether the harbour master, pilot, or a crew member is talking, and you can set the subtitle duration to a fixed 8 seconds for short exchanges or to a variable length that matches the spoken dialogue. For players with hearing aids or external speakers, the audio output mode toggle between stereo and surround affects how the engine room rumble blends with the bridge click sounds, and a stereo mix is usually clearer for dialogue.
Recommended Profiles for Common Setups
Putting all the settings together into a profile that matches your hardware saves time every time you launch the game. The three profiles below cover the most common bridge setups: a HOTAS pilot, a wheel-and-quadrant captain, and a gamepad-only player.
HOTAS Profile
A HOTAS rig pairs a joystick with a throttle, which fits the bridge layout nicely. The stick takes the rudder, the throttle becomes the engine telegraph, and a separate hat switch handles the bow thruster. Sensitivity sits at 75% on the rudder with a 3% dead-zone, the telegraph runs a linear curve with a 5% centre dead-zone, and the thruster uses an exponential curve so small deflections are easy to control.
Wheel and Quadrant Profile
A wheel-plus-quadrant rig is the most realistic option. The wheel handles the rudder with a 1% dead-zone and self-centring force, the left lever of the quadrant drives the engine order telegraph, and the right lever is bound to the bow thruster with a 90-degree rotation mapped to full lateral thrust. This profile benefits most from the professional ship simulator ultrawide support, because the triple-readout HUD maps naturally to the wide field of view.
Gamepad-Only Profile
A gamepad profile uses the left stick for combined rudder and the right trigger for the thruster, with the shoulder buttons cycling through ahead and astern orders on the telegraph. A 10% dead-zone on the left stick and a linear curve keep the steering predictable, while the trigger has a 15% dead-zone to avoid accidental thruster activation. UI scaling at 110% and subtitle scale at 125% help readability on a TV across the room, and HDR brightness drops to 70% on a typical living-room display.
| Profile | Rudder Binding | Telegraph Binding | Thruster Binding | Key Trade-off |
|---|---|---|---|---|
| HOTAS | Joystick X axis | Throttle axis | Hat switch | Realistic separation, less forgiving |
| Wheel + Quadrant | Wheel rotation | Left lever | Right lever | Most authentic feel, hardware cost |
| Gamepad | Left stick (combined) | Shoulder buttons | Right trigger | Portable, limited fine control |
Frequently Asked Questions
Does professional ship simulator HDR help with night navigation?
Yes, on a 1000-nit HDR monitor the brighter channel markers and AIS targets stand out against the dark bridge, which makes night pilotage easier. If your monitor is dimmer, lower the in-game HDR brightness to about 70% to avoid clipping the bridge window highlights.
Can I run professional ship simulator ultrawide without stretching the bridge panels?
Yes, the 21:9 and 32:9 aspect ratios are supported natively. On 32:9, widen the FOV by 5-10 degrees so the far edges of the bridge do not feel stretched, and keep the UI scale at 100-110% so click targets stay the same physical size as on a 16:9 panel.
Where do I change professional ship simulator subtitles for readability?
Open Settings, then the Accessibility or Interface tab, and adjust the subtitle font scale, background opacity, and on-screen anchor. A 110-125% font scale with 50% background opacity is a good starting point on a 1440p or 4K monitor.
What professional ship simulator accessibility options help with motion sensitivity?
The motion sickness slider under the Accessibility menu reduces camera shake and FOV easing during heavy weather and camera transitions. Setting FOV change smoothing to 0% removes the rubbery feel of camera pans, which some players find easier to track.
Does the professional ship simulator telegraph work on a keyboard?
Yes, you can map keys to Ahead, Astern, and Stop on the engine order telegraph. It lacks the analog feel of a lever, so plan engine calls a few seconds earlier than you would with a throttle quadrant, but it is a reliable fallback when no controller is present.