
Missions
Professional Ship Simulator mission walkthroughs for ferry duty, trawling, tug assistance, cargo transport, rescue, firefighting, buoy repair, pilotage and dry dock runs.
Introduction
Missions are where progression actually happens: they pay the credits, award the experience and unlock the licence tiers that gate the larger commands. Each mission family exercises a different part of the simulation, which is why a captain who only ever runs freight will be badly exposed the first time a fishing or firefighting contract appears. The families documented here cover ferry crossings, trawling, tug assistance, cargo transport, search and rescue, offshore firefighting, buoy repair, pilotage, tourist charters and dry dock returns — the list the official store page summarises as eight task types and the developer feature list subdivides further. For each one this section explains what the job actually asks of you, which systems you will be operating, where the difficulty really lives and how the payout tends to scale relative to effort.
Mission Families at a Glance
| Family | Core Skill | Systems Used | Difficulty |
|---|---|---|---|
| Ferry | Schedule keeping and load limits | Telegraph, docking panel, VHF | B |
| Fishing | Shoal finding and net handling | Sonar and echo sounder | A |
| Tug assistance | Line tension management | Docking panel, thrusters, VHF | S |
| Rescue | Search patterns in poor weather | Radar with AIS, VHF, searchlight | C |
| Firefighting | Station keeping while pumping | Water cannons, thrusters, radar | C |
Mission Walkthroughs
Ferry Duty
Timed crossings where the schedule matters as much as the seamanship.
Fishing and Trawling
Sonar work, gear deployment and a net that will find every obstruction you missed.
Tug Assistance
The purest line-handling test in the game, and the fastest way to learn tension.
Maritime Rescue
Search patterns and station keeping in weather that is actively working against you.
Transport and Cargo Hauls
The bread-and-butter freight work that keeps credits coming in between specialised jobs.
Core Mechanics
Every mission follows the same underlying loop, and understanding it is more useful than memorising individual contract descriptions. You accept tasking — usually over VHF from a harbour that offers radio-menu jobs — then plan the passage, then execute it, then berth or recover. What changes between families is which stage carries the risk. Ferry work concentrates risk in the berthing and the schedule. Fishing concentrates it in locating a shoal and deploying gear without fouling. Tug work concentrates it entirely in line handling, where a tow line under load can part without much warning. Rescue and firefighting add the complication that your own vessel has to hold a precise position while something else is going wrong nearby.
Advantages
The mission system is generous in the sense that most families share the same core skills, so competence compounds. Once you can hold a station accurately, you can perform firefighting, rescues, pilotage transfers and buoy repairs with the same underlying control technique. Payout also scales sensibly with risk: short cargo hops pay modestly, while heavy transport in poor weather, or any job that puts your hull near a hazard, pays considerably more. Because tasking comes from around twenty harbours with radio menus, you can usually find work that matches the vessel you own rather than being forced into a contract you are not equipped for.
Challenges
The frustration is that mission quality varies, and Early Access means some families are less developed than others. Fishing has been a particular talking point in the community, with players asking whether the full fish-finder experience is present or planned. Several families also have long transit legs that are satisfying the first time and tedious the fifth, so an efficient captain learns when Fast Travel is worth the cost. Finally, a failed mission can be expensive in more than time: hull damage persists, repairs consume credits, and a damaged vessel may not be accepted for the contract you actually wanted next. The consequence for planning is that you should never chain two demanding contracts without a repair and refuel window between them.
Frequently Asked Questions
How many mission types does the game actually have?+
Which missions pay best?+
Can I fail a mission and keep the credits?+
Quick Tips
Read the contract description for the vessel requirement before you accept it, not after. Arriving with a hull the mission will not accept wastes the transit time and, if the tasking expires, may cost you standing with the harbour that issued it. Read the contract twice before accepting, because vessel requirements and time windows are easy to miss under pressure.
For any towing or line-handling job, decide your escape route before you take the line. Knowing where you will go if tension spikes — and being mentally ready to let go and reposition — is what separates a clean tug assist from a parted line and a drifting casualty. Decide your abort criteria before you take the line or deploy the gear, not while the situation is developing.
Do not stack two demanding contracts back to back. Damage and fuel both carry forward, and the sim does not pause to let you recover. A short repair window between jobs is far cheaper than limping into a rescue callout with a flooded compartment. Keep a repair reserve rather than spending every credit on the next hull, since damage carries forward between contracts.
Featured
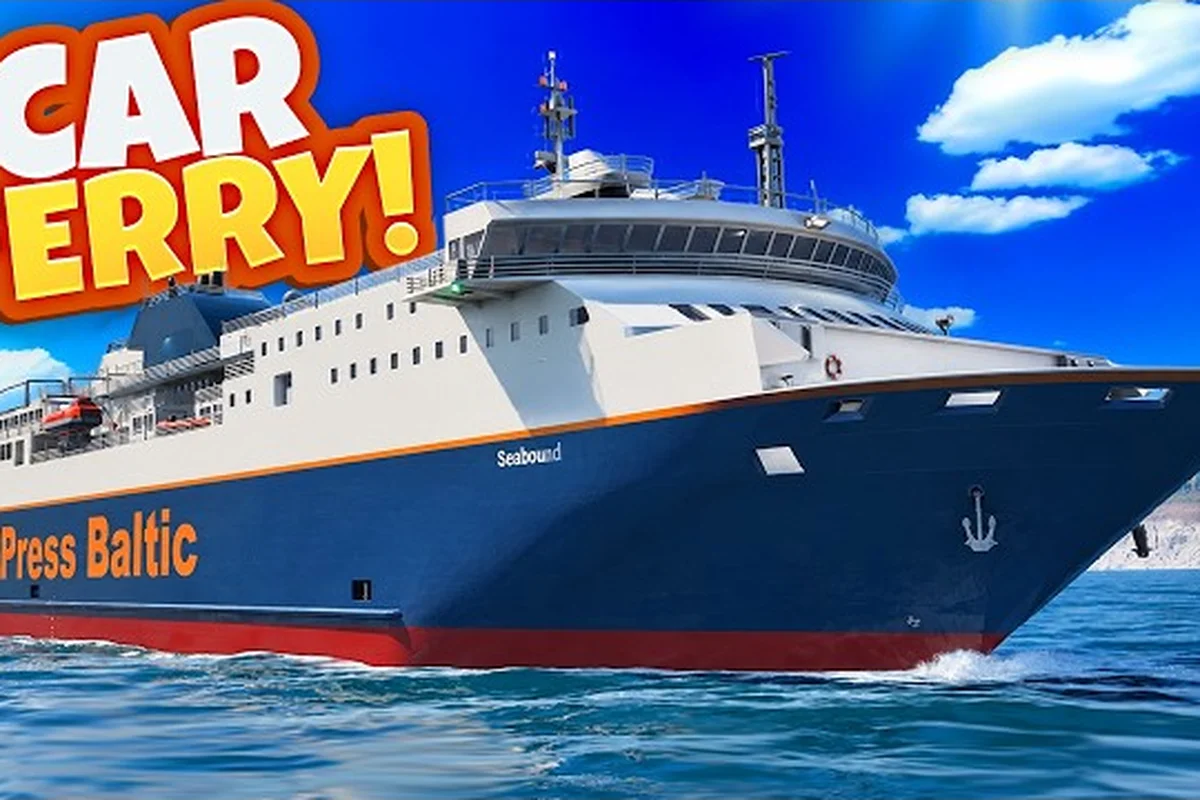
Professional Ship Simulator Car Ferry Mission: Routes
Master the Professional Ship Simulator car ferry mission with departure checks, Harbor Control radio calls, and safe arrival docking.
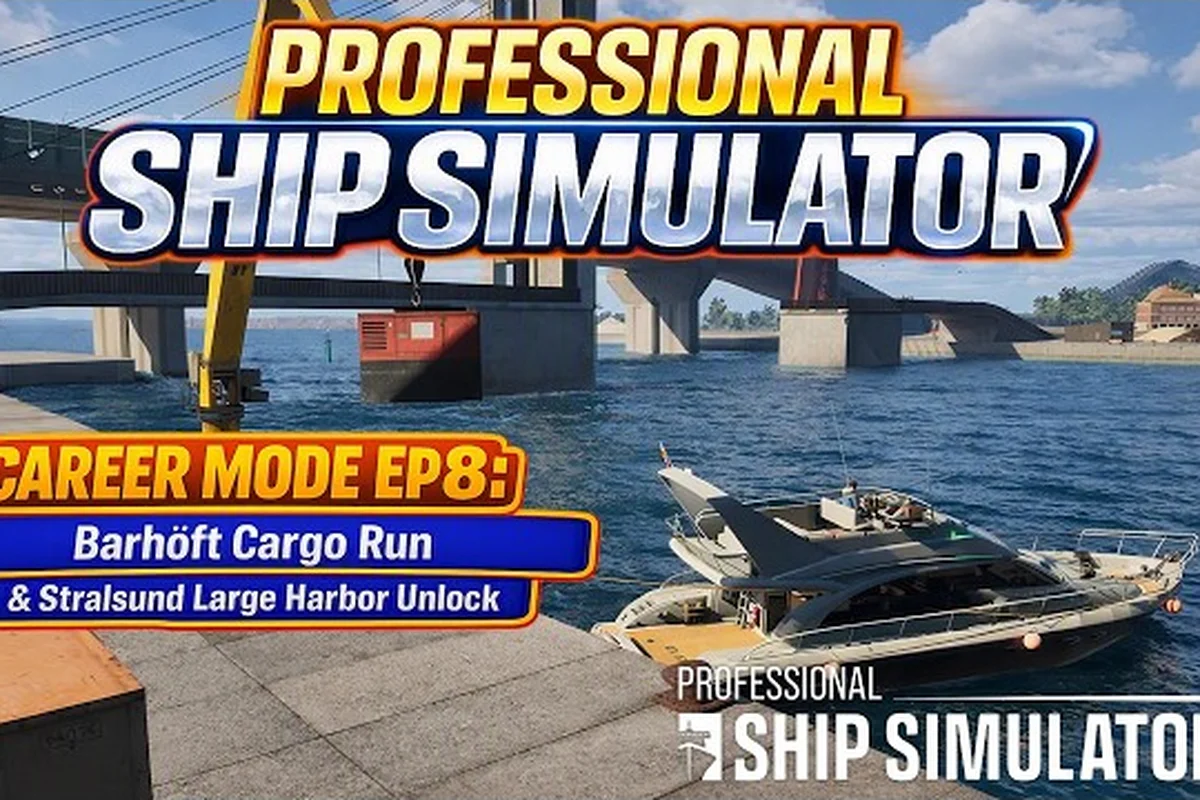
Professional Ship Simulator Cargo Mission: Merchant Runs
Complete any Professional Ship Simulator cargo mission with merchant route planning, navigation entry, and safe arrival at harbor.
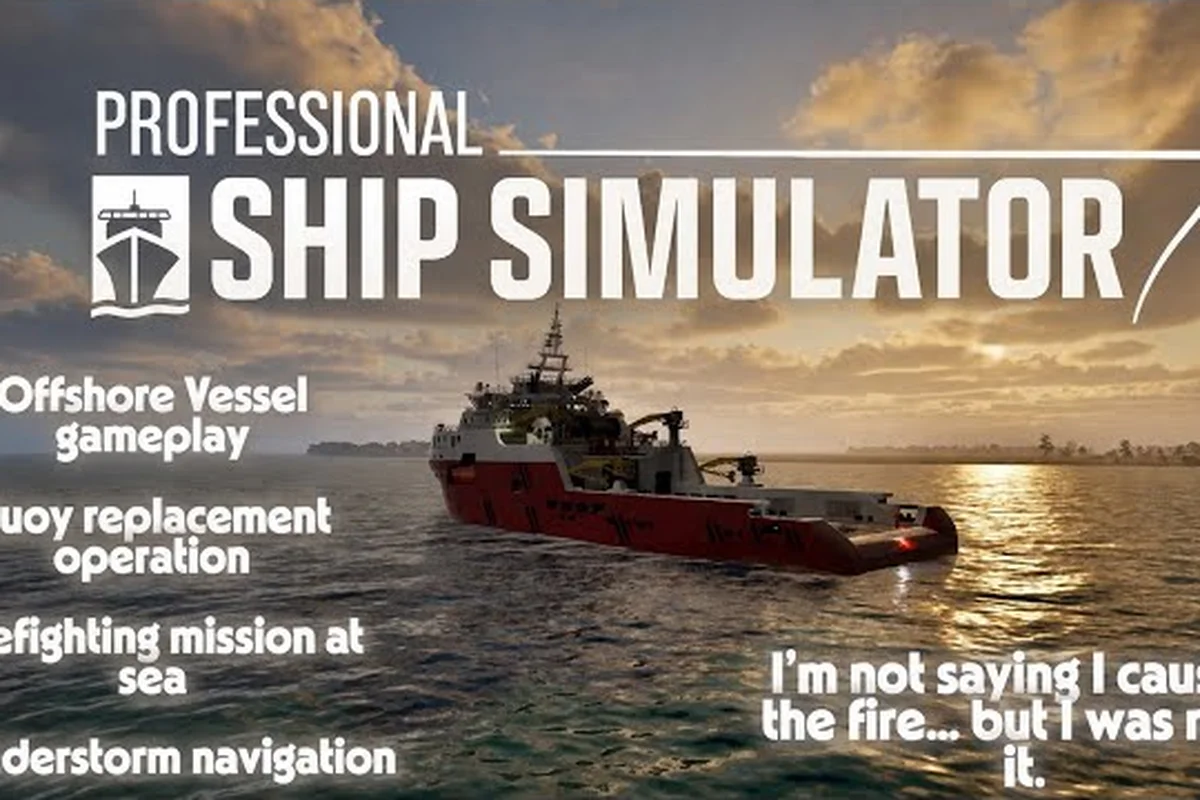
Professional Ship Simulator Repair Mission Guide
Handle every Professional Ship Simulator repair mission, including buoy replacement runs, pilot inspections, and merchant cargo finalization.
All Articles
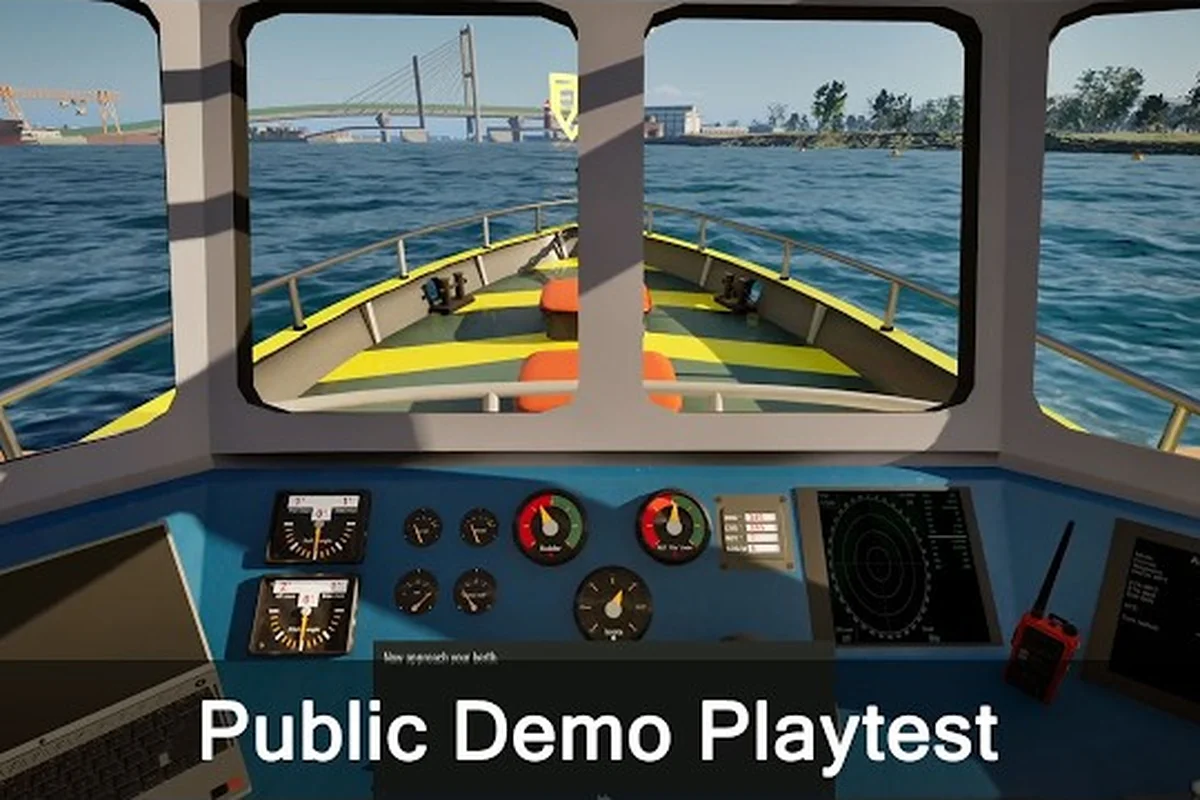
Professional Ship Simulator Scenario Editor: Custom
Design your own runs in the Professional Ship Simulator scenario editor, setting weather, difficulty, and mission conditions for credits.
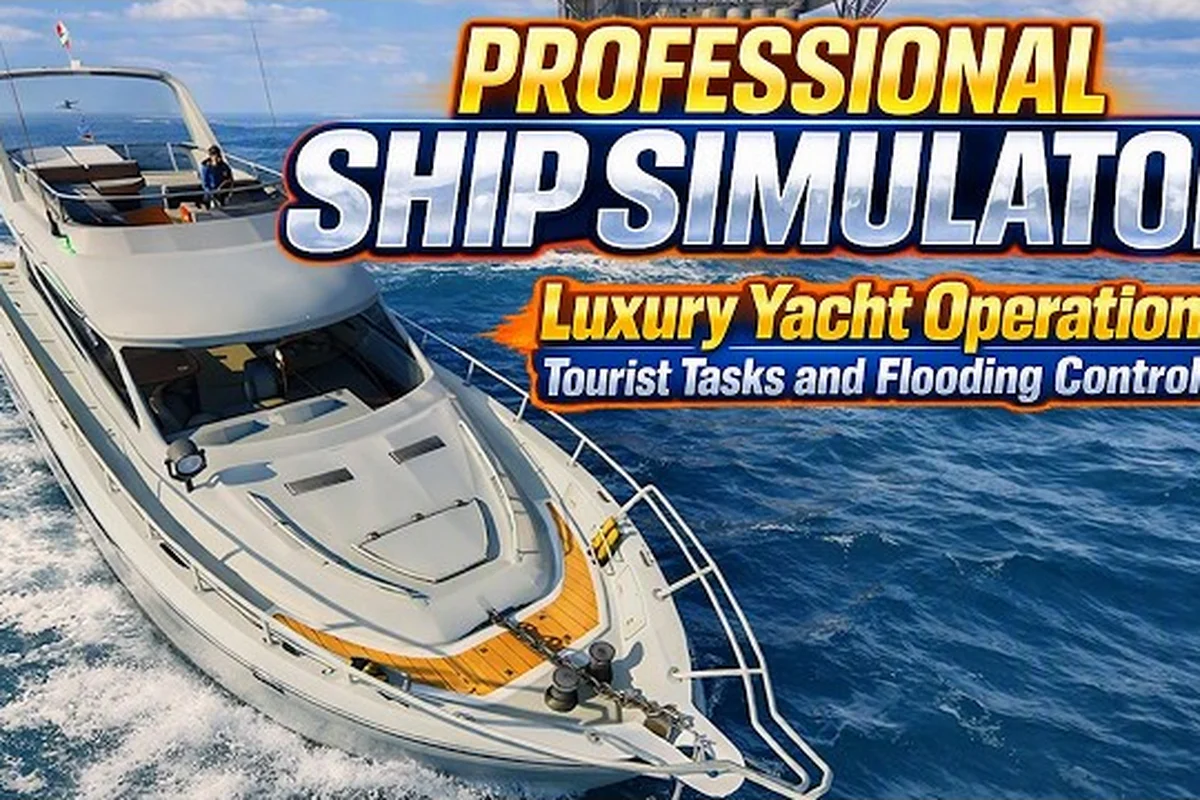
Professional Ship Simulator Tourist Charter: Passengers
Run a Professional Ship Simulator tourist charter smoothly, from picking up passengers to choosing destinations and earning rewards.
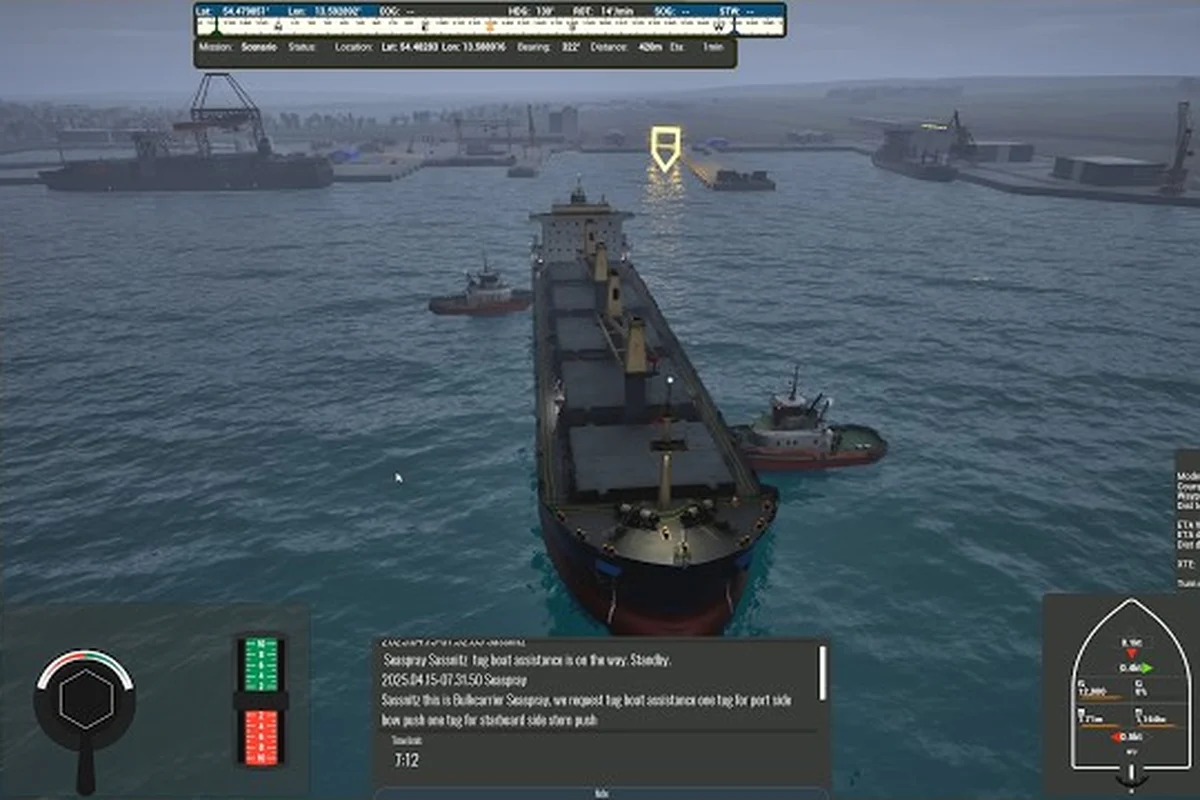
Professional Ship Simulator Mission Payouts Ranked
Compare Professional Ship Simulator mission payouts across scenarios, with difficulty tiers, XP rewards, and top-paying jobs.
Professional Ship Simulator Mission List: Pay & Scenarios
Browse the complete Professional Ship Simulator mission list ranked by payout, covering ferry duty, tug assistance, fishing runs, and emergency response rewards.