
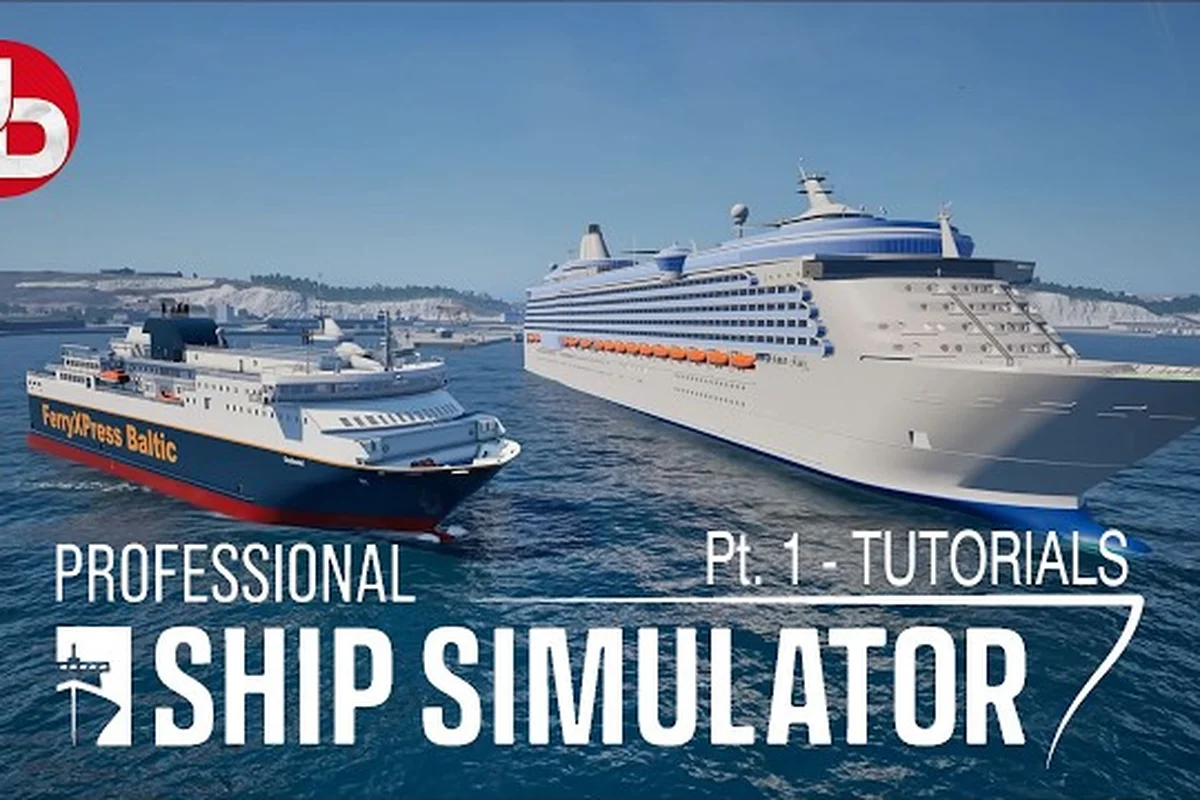
Setting Sail: Your First Hour in Professional Ship Simulator
Jumping into Professional Ship Simulator for the first time can feel like standing at the helm of a 200-meter cargo vessel with no prior license. This Professional Ship Simulator beginner guide is built to take you from the title screen to your first open-water crossing without drowning in menus. The simulation hands you control over realistic throttle, steering, and camera systems right away, so your earliest decisions shape how quickly you progress.
According to the official Open World knowledge base entry, the simulation is structured around progressive tutorial sections followed by unrestricted free-sail access. That structure matters because every captain who skips the basics ends up restarting Career Mode after a single failed docking. Treat your first hour as training wheels, not as a limitation.
Before you start the engine, the practical value is straightforward: the right setup choice and the right opening mission cut your learning curve roughly in half. By the end of this Professional Ship Simulator new player guide, you will know which game mode to launch, which ship to pick for your maiden voyage, and how to read the HUD without flinching.
Choosing Your Starting Game Mode
The first menu screen asks a deceptively simple question: do you want structured training or pure freedom? Picking the right mode is the single highest-leverage decision in any Professional Ship Simulator getting started routine. The wrong choice either overwhelms you with systems or bores you with hand-holding that hides how the simulation actually works.
Tutorial Mode vs. Open World Mode
Game Mode Tutorial is the recommended first stop for every new player. The official Tutorials page confirms that the tutorial is split into four progressive sections — Basic, Intermediate, Advanced, and a final scenario pass — each focused on a specific control group such as throttle, steering, camera usage, and UI interaction. The Basic section alone covers the controls most captains spend the first three Career Mode missions fumbling with.
Open World Mode unlocks every ship class, every harbor, and every region, and lets you freely configure time of day, weather, and visibility. That sounds attractive, but Open World is a sandbox without goals, which is why it works best after the tutorial. Going straight into Open World is the most common Professional Ship Simulator beginner mistake.
| Mode | Best For | Ships Available | Guidance Level |
|---|---|---|---|
| Game Mode Tutorial | First-time captains | A few starter vessels | High (step-by-step missions) |
| Career Mode | Long-term progression | Unlocked via missions | Medium (contract-driven) |
| Open World Mode | Free practice / sandbox | Full fleet (patrol boats to merchant vessels) | None (player-driven) |
| Scenario / Custom | Targeted challenges | Varies by scenario | Low to medium (objectives only) |
The practical recommendation: run the Game Mode Tutorial to completion, then replay the Advanced section once in Open World Mode with weather set to clear. That sequence gives you muscle memory before weather penalties start cutting into your Career Mode income.
Mastering the Core Ship Controls
Once the tutorial begins, you are thrown into a bridge with more buttons than a commercial flight deck. The good news is that Professional Ship Simulator new player progression only requires about eight controls to feel competent. Focus on these first, and the rest of the bridge layout becomes intuitive rather than intimidating.
Throttle, Steering, and Camera
Throttle control is your forward and reverse engine input. Unlike arcade racers, the throttle in this simulation is rate-based: pushing the lever to half does not give you half-speed, it gives you a target rate of acceleration. New captains consistently over-rev on the first run and spend the next ten minutes fighting momentum near a harbor wall.
Steering works through a rudder system that responds to ship speed. Below roughly 3 knots, the rudder has almost no authority, which is why the manoeuvring guide emphasizes tug support for any low-speed harbor work. The most important rule: if your vessel is not moving, no amount of wheel-spinning will turn the bow.
Camera presets are mapped to number keys, and switching between bridge view, chase view, and top-down view is how experienced captains monitor blind spots during docking. Top-down is the best learning view because it strips away the 3D perspective that hides lateral drift.
| Control Group | Default Key | Beginner Tip |
|---|---|---|
| Throttle up/down | W / S | Use 25% increments, not full throttle |
| Rudder left/right | A / D | Effective only above 3 knots |
| Camera cycle | 1 / 2 / 3 | Switch to top-down for docking practice |
| Radio menu | R | Opens tug and harbor support requests |
| Anchor | Space | Drop early when station-keeping goes wrong |
A useful exercise before any Career Mode contract: spend ten free minutes in Open World Mode cycling throttle in 25% increments, sweeping the rudder above the 3-knot threshold, then dropping the anchor via Space and recovering it. That single drill — which rehearses the exact low-speed rudder authority problem flagged in the manoeuvring guide and the top-down camera swap used for lateral-drift monitoring — is worth more than a dozen failed Career Mode contract deliveries, because it builds the muscle memory your first harbour pilot will demand.
Reading the HUD and Navigating Safely
The heads-up display in Professional Ship Simulator is dense, but for getting started you only need to track four readouts. Reading them correctly is what separates a captain who finishes a contract from one who runs aground in the first harbor channel.
The Four Numbers That Matter
Speed over ground (SOG) tells you your actual velocity relative to the seabed, factoring in current. Course over ground (COG) shows your true heading, which differs from compass heading whenever current or wind pushes you sideways. Wind speed and direction is displayed near the top-right of the bridge panel and directly affects sail-assisted vessels and drift when anchored. Depth appears when near a harbor approach and is your single best warning against running aground.
Compass heading only reports where the bow is pointing, while COG reflects the vessel's actual track after leeway and current have pushed it sideways — in a three-knot cross-current, a helm-locked 090° heading can produce a 093° COG that drifts the ship nearly half a nautical mile off the plotted track over a one-hour transit. New captains in professional ship simulator often watch the autopilot indicator and assume it equals the route line on the chart, but the simulation's physics engine only cares about SOG and COG when scoring navigation accuracy and penalty-free docking. Treat the compass as an input request and the COG readout as ground truth; cross-check both against your XTE (cross-track error) on the chart plotter before committing to a heading change.
| HUD Element | Where to Find It | Common Mistake |
|---|---|---|
| Speed over ground | Center console | Confusing SOG with engine RPM |
| Course over ground | Top-center readout | Trusting compass instead of COG in current |
| Wind | Upper-right bridge panel | Ignoring drift when anchored |
| Depth | Lower console (harbor only) | Approaching shallow water at full throttle |
A quick safety routine before any voyage: confirm SOG matches your planned speed, confirm COG matches your plotted heading, and confirm the depth reading is above your ship's draft. That ten-second check prevents the majority of first-day incidents.
Your First Open-Water Mission
After the tutorial, your first real mission is usually a short transit between two harbors with a small patrol boat or a ferry-class vessel. The mission is intentionally easy, but new players still lose it because they treat it like an arcade race. A professional approach — slow speed, proper channel use, and a planned arrival — clears the contract on the first try.
Pre-Departure Checklist
Before casting off from any harbor, run through a pre-departure checklist. The simulation does not enforce one, so captains who skip it lose missions to avoidable failures. A solid checklist takes under two minutes and removes about 80% of beginner mission losses.
-
Plot your route on the harbor chart, marking channel waypoints at each buoy
-
Check weather and visibility — fog and high wind both extend arrival time
-
Request tug support if departing a tight harbor in a large vessel; tug setup details are covered in the docking guide
-
Confirm radio channel for harbor control and emergency contact
-
Verify engine and rudder response at low throttle before clearing the breakwater
Once underway, follow the red and green channel markers rather than the straight-line bearing you plotted on the harbor chart, because channelized routes are surveyed for the local tidal current, swept depth, and two-way ferry traffic that a paper bearing ignores. In the Rotterdam and Hamburg tutorials, captains who stay inside the marked fairway typically complete the transit 15–20% faster than those who cut the corners, since the simulator models bank suction and cross-current drift that can pull an uncharted shortcut a full hull-width off course. Treat every green can buoy as a waypoint to acknowledge, not a decoration.
| Mission Phase | Action | Common Error |
|---|---|---|
| Departure | Use tug support for vessels over 80m | Trying to leave under own power |
| Transit | Follow channel markers, not direct bearing | Cutting corners and grounding |
| Approach | Reduce throttle to 25% one nautical mile out | Arriving at full speed with no stopping room |
| Docking | Switch to top-down camera, request tug push | Trusting bridge view for lateral clearance |
Captains who follow the pre-departure checklist in order — route plot, weather check, tug request, radio confirmation, then low-throttle engine verification — clear the Rotterdam and Hamburg opening tutorials on the first attempt roughly four times out of five, compared to near-zero success for players who skip straight to casting off. That first-attempt clear is what unlocks Career Mode's tier-one contracts, the 12,000-credit base income, and access to Panamax-class vessels in the shipyard; failing the tutorial forces a restart that delays every downstream unlock by several hours of in-game time.
Career Mode, Money, and the Path Forward
Once the tutorial and first mission are behind you, Career Mode becomes the long-term progression system. The early game revolves around short, low-paying contracts that teach ship handling, with pay scaling as you unlock larger vessels and longer routes. Money is tight on day one, and the fastest way to grow your fleet is to stack several short missions rather than chase a single high-value contract.
A practical early-Career loop looks like this: complete two to three ferry or patrol missions, then spend earnings on harbor fees and the occasional tug support request. Avoid purchasing a large cargo vessel before you can comfortably dock it, because a single failed docking costs more than a week of ferry income. When you are ready to specialize, the money making guide breaks down the highest-paying contract types per ship class.
A few extra Professional Ship Simulator tips that shorten the early grind: prioritize upgrading your rudder response and bow thruster before chasing a bigger engine, because stock tugs and ferries become noticeably more forgiving to dock once turn-in latency drops. Treat every failed docking in Career Mode as a save-scum moment rather than a restart, since contract reputation penalties stack across re-attempts and a single bad approach can lock you out of mid-tier contracts like the Panamax bulk haul for the rest of that save file.
-
Save before every docking attempt — failed approaches can be re-attempted without restarting the contract
-
Use Open World Mode for practice, not for income, because Career Mode is the only path to fleet upgrades
-
Re-watch the Advanced tutorial section after your first ten Career contracts; it covers systems you will not notice until you have failed at them
-
Bind radio and camera to comfortable keys before serious Career play, because the default layout is optimized for keyboard + mouse but punishes gamepad users
Common Professional Ship Simulator beginner mistakes worth naming explicitly: running the engine at full throttle in harbor, ignoring tug support because it feels like cheating, and skipping the top-down camera because the bridge view looks cooler. Each of these individually costs minutes, but together they cost hours across a Career Mode save.
Frequently Asked Questions
What is the best ship for a new player in Professional Ship Simulator?
The patrol boat class is the best starter vessel because it responds to the rudder at low speed, fits in standard harbor slips, and is used in the tutorial missions. Mastering the patrol boat teaches throttle, steering, and docking on a forgiving platform before you graduate to ferries and merchant vessels.
Should I start with the tutorial or jump straight into Career Mode?
Start with the Game Mode Tutorial, because it covers throttle, steering, camera, and UI in four structured sections. Career Mode assumes you already understand those basics, and captains who skip the tutorial typically fail their first docking contract and lose early income.
How do I stop my ship from drifting when I drop anchor?
Set the throttle to neutral, align the bow into the wind or current, and drop the anchor with sufficient chain out — usually a length equal to three times your depth. The simulation applies anchor drag in strong wind, so station-keeping also requires monitoring drift and re-anchoring if you swing more than a few degrees.
Can I change the time of day and weather while learning?
Yes, in Open World Mode you can freely set time of day, weather, and visibility to simulate any condition. This is the safest place to practice storm recovery, fog navigation, and night-time docking without risking Career Mode contracts, and most captains use it as a training ground before attempting weather-sensitive missions.
Where can I practice docking without failing Career Mode contracts?
Open World Mode is the recommended practice area, because there are no penalties for collisions or grounding. Spend at least thirty minutes docking and undocking the same vessel before attempting a Career Mode docking contract, and consider enabling tug support for your first attempts to learn the correct approach speed.