
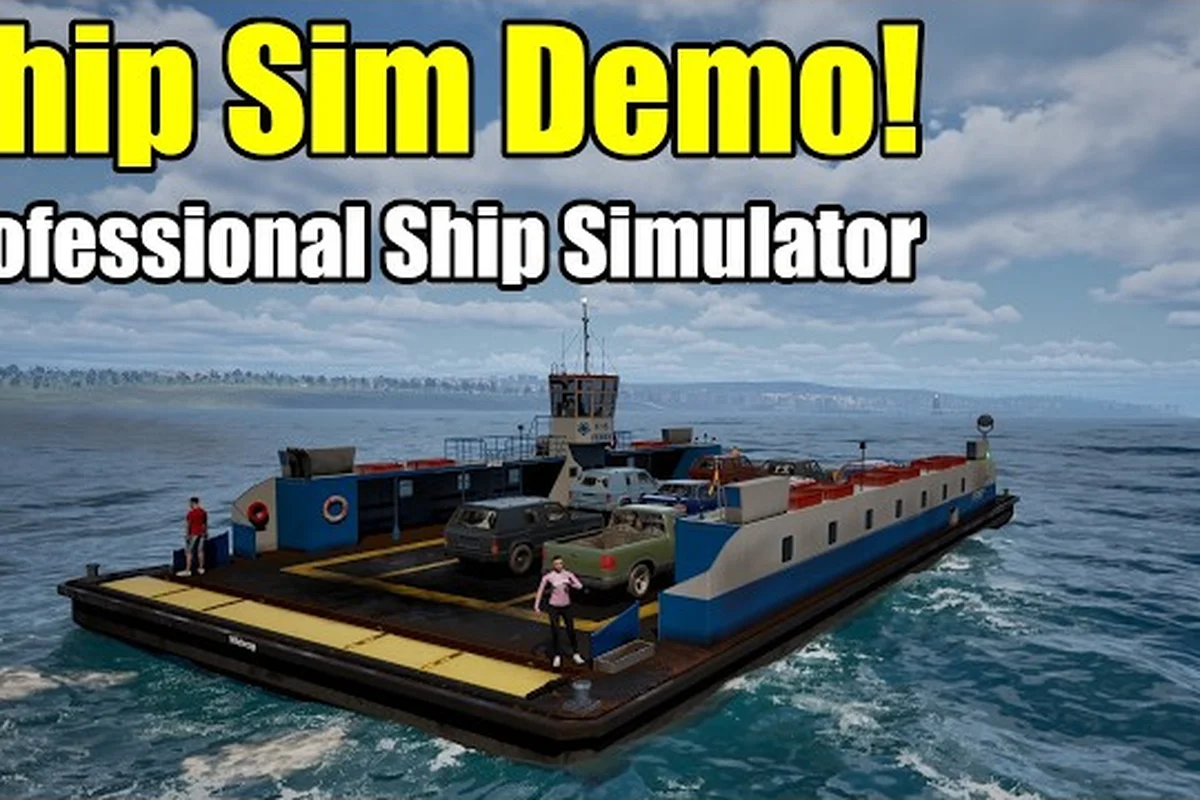
Every new captain who loads into the bridge for the first time faces a dark cockpit, a wall of unlabeled buttons, and a radio that is already crackling with traffic. This Professional Ship Simulator starter guide gets you from cold iron to open water without burning a single credit on a preventable mistake. The first sail sets the tone for your entire career, and the habits you build in the opening hour determine whether you finish the first week with a healthy bank balance or a salvage bill.
Before you push off the jetty, the sim assumes you already know how a real ship wakes up. You do not. That is why most first-time pilots stall at the dock, flood the engine room, or drift sideways into a harbour wall. The goal of this Professional Ship Simulator complete guide is to walk you through the exact sequence the official startup procedure recommends, the controls that matter on day one, and the missions that build a foundation you can scale into a full career run.
This Professional Ship Simulator full guide also doubles as your map for the first ten hours. You will learn the difference between the tutorial tiers, how to read the bridge before you touch the wheel, which free-play mode gives you the safest training ground, and when to graduate from a starter trawler to something with a licence requirement. By the end, the bridge will feel less like a cockpit and more like a second office. Before you touch the wheel, which free-play mode gives you the safest training ground, and when to graduate from a starter trawler to something with a licence requirement, it helps to study the broader philosophy behind scenario design in our Professional Ship Simulator Guide 2026, which breaks down how realism settings, failure penalties, and AI traffic density shape the gap between arcade tinkering and bridge-watch discipline.
Understanding the Cold Bridge and Startup Procedure
Every ship in the simulator starts with a dark cockpit. The first action a new captain must take is to wake the ship up in the correct order. According to the Start Up Procedure knowledge base, you always begin with a "dark cockpit" and the very first switch is the Battery and DC bus, bound to Shift + B by default. Flipping that breaker brings every monitor, light panel, and the AC generator to life, and it is the single keybind most first-time captains forget.
Once the DC bus is live, the navigation and communication stack follows. The radar binds to Shift + R, the VHF radio to Shift + C, and GPS and AIS (sometimes labelled ENIS) to Shift + G. Sonar toggles with U. The AC generator, which feeds the heavy consumers, binds to Ctrl + B and is not available on smaller hulls like the pilot boat and harbour tug. Lights are a separate cluster: running lights map to L, internal lights to Shift + L, external lights to Ctrl + L, and the spot light to Alt + L. Monitor brightness is Alt + B so you can dim the chart plotter for night watches.
The Wake-Up Sequence in the Right Order
The order matters. A common mistake is to start the engines before the DC bus is online, which leaves the throttle dead and forces a restart. The community-tested wake-up order, drawn from the official tutorial, looks like this:
| Step | Action | Default Keybind | Purpose |
|---|---|---|---|
| 1 | Battery / DC bus | Shift + B | Powers all NavCom and lights |
| 2 | GPS / AIS | Shift + G | Shows your position and nearby traffic |
| 3 | VHF radio | Shift + C | Opens channel 16 for harbour control |
| 4 | Radar | Shift + R | Required before moving in fog or traffic |
| 5 | Running lights | L | Mandatory before getting underway |
| 6 | AC generator | Ctrl + B | Feeds the engine room on bigger hulls |
| 7 | Engines | Telegraph | Final step, never before step 6 |
What the Open World and Tutorials Actually Teach You
The Open World knowledge base entry describes a sandbox where every ship class is unlocked, weather can be tuned, and missions are available through the radio communication menu. New captains are often told to start there, but the Tutorials page is the more honest entry point. Tutorials split into Basic and Advanced tracks. Basic tutorials cover simplified objectives and on-screen hints that mirror real-world ship roles; Advanced tutorials tackle docking procedures, shallow water handling, multi-engine control, sonar, and environmental awareness like wave height, wind, and visibility.
If you skip the tutorials and jump straight into Open World, you will survive but you will not progress efficiently. Players who finish the Basic track first report a noticeably smoother first ten hours, because the simulator punishes procedural errors with damage states, harbour fees, and stalled XP.
The Bridge Layout You Need to Memorise First
The bridge is your office, and you need to know where everything lives before the first departure. Most starter hulls share a common layout: a central telegraph, a wheel or joystick station, a chart table to port, and a radio stack above the console. The chart table is where the mission waypoints appear, the radio stack is where harbour control hands you your slip assignment, and the telegraph is where you translate wheel orders into engine RPM.
A useful mental model is the three-screen rule: navigation, communication, and propulsion. Navigation lives on the chart table and the radar PPI, communication lives on the VHF radio panel, and propulsion lives on the telegraph and the engine order telegraph (EOT) repeater. Once you can flick between those three zones without looking, you have the muscle memory that veteran captains take for granted.
Controls That Actually Matter on Day One
A full keybind table belongs in a separate controls article, but the day-one subset is short and worth memorising cold.
| Control | Default Keybind | Why It Matters on Day One |
|---|---|---|
| Rudder (steering) | Mouse or A/D | Every docking requires precise heading changes |
| Telegraph ahead | W or up arrow | Main propulsion for departure and transit |
| Telegraph astern | S or down arrow | Emergency stop and controlled docking |
| Bow thruster | Q / E | Holds the bow during slow-speed manoeuvres |
| Horn | Space | Mandatory one-blast signal before getting underway |
| Binoculars | B or right mouse | Reading distant buoys and harbour markers |
| Clickable cockpit | Left click | Power up individual breakers the keyboard misses |
The Clickable Cockpit and Why It Slows New Captains Down
A signature feature of the bridge is the clickable cockpit, where every switch, dial, and breaker is an actual mesh you can grab with the mouse. The Start Up Procedure knowledge base explicitly notes that some systems are not available through keybinds, especially on smaller boats. New captains who rely on keybinds alone will spend the first few hours wondering why their generator will not start, when the answer is a single breaker mounted behind the captain's chair.
The trick is to bind the keyboard for the routine and use the clickable cockpit for the exceptions. Reserve the mouse for breakers, valve handles, the docking panel, and any switch the manual tells you is interactive only. Treat the keyboard as your sprint layer and the clickable cockpit as your slow-and-careful layer.
Your First Voyage, Step by Step
Once the bridge is awake, the next decision is which mission to take. The free-play and tutorial environment is the safest place to learn, because penalties are minimal and weather can be locked to clear. A career mission, by contrast, docks a real percentage of your cargo if you scrape a buoy, and a stalled departure can cascade into a failed licence check at the end of the run.
The most efficient first voyage follows a four-step rhythm: plan, depart, transit, arrive. Each step has a measurable outcome. The plan ends when the chart shows a clean route, the departure ends when the bow is past the breakwater, the transit ends when the destination harbour is on the bow, and the arrival ends when the lines are on the dock and the engines are off.
Planning the Route Before You Untie
Open the chart table and look for the waypoints the mission has planted. A good captain reads the route twice: once for the heading numbers and once for the hazards. Hazards include shallow banks, shipping lanes, and any restricted zones painted in magenta. If the chart shows a magenta exclusion, the simulator will fine you for crossing it, even if no buoy is in sight.
Departing the Berth Without Drifting
The departure is where most first voyages end. Pull the lines, give one short blast on the horn, and tap the bow thruster away from the pier before engaging the telegraph. Going astern before clearing the pier is the single most common mistake in the early access build, and the damage system will charge you for every plank you crush.
Transiting with the Right Watch
While in transit, set a watch routine. The watch should glance at the radar every 90 seconds, monitor the VHF for harbour control updates, and check the telegraph for engine RPM drift. The XP system rewards captains who keep a clean watch log, and the licence progression tracks watch hours as a soft multiplier.
Arriving Without Scratching the Paint
Arrival is the mirror image of departure. Call the harbour on VHF Channel 16, ask for a slip assignment, reduce engines to slow at the breakwater, and use the bow thruster to pivot the bow into the slip. The docking panel is where the lines are paid out, and the clickable cockpit is where the mooring winches live. Kill the engines only after the spring line is taut.
Modes, Missions, and the First Ten Hours
Choosing the right mode for your first ten hours is the difference between a confident captain and a frustrated one. The simulator exposes three core modes at launch: Free Roam, Career, and Scenario. Each one trains a different skill, and the order in which you tackle them is part of your progression strategy.
| Mode | Best For | Risk Level | XP Curve | Mission Income |
|---|---|---|---|---|
| Free Roam | Learning controls, charting, free practice | None | Slow but steady | None |
| Career | Long-term licence progression, bank growth | High (damage, fines) | Steep once licences unlock | Highest per mission |
| Scenario | Repeatable credit farming, leaderboard grind | Medium (depends on scenario) | Tunable via weather slider | Variable |
Free Roam as the First Ten Hours
Free Roam is the sandbox where you can break the ship without consequence. Use it to learn the clickable cockpit, the wake-up procedure, and the feel of the wheel at low speed. The community consensus is that ten focused hours in Free Roam saves the average captain about 30 hours of repair bills in Career mode.
Career Mode as the Long Game
Career is where licences, ship purchases, and credit accumulation live. A first licence typically unlocks after a set of small mission chains, and a clean Career run depends on stacking low-risk jobs like harbour tugs and pilot boat transfers before chasing the high-payout cargo routes. Players who rush into a tanker mission on day one frequently end their first run with a damaged hull and a frozen licence.
Scenario Mode as the Repeatable Engine
Scenario mode is the leaderboard grind and the credit farm. Weather is the biggest single XP multiplier in the early access build, so running a stormy scenario repeatedly is the fastest way to climb the licence ladder. The trade-off is damage risk, which is why many captains pair Scenario with a smaller hull they can afford to repair.
Tuning, Saving, and Future-Proofing Your First Run
The first run is also the run where you tune the controls and settings you will keep for the next hundred hours. The settings menu is where you remap controls, adjust the mouse smoothing, calibrate the rudder, and pick the difficulty curve that matches your skill level. Saving a control profile is a habit worth forming on day one, because a hard reset wipes local bindings.
Difficulty, Realism, and the Bank Balance
Realism settings control how forgiving the sim is to small mistakes. A higher realism setting charges more for hull damage, makes the engine slower to respond, and tightens the docking tolerance. New captains are usually better off starting at the second-lowest realism, finishing the first licence there, and only then bumping realism once a licence unlocks the credit buffer to absorb mistakes.
Save Discipline and Profile Sharing
Save your control profile after every meaningful change, and back it up to the cloud once a stable layout is locked in. Profile sharing is a community feature where captains upload their bindings to the workshop, and the top-rated profiles are a fast way to skip the trial-and-error phase for gamepads, HOTAS, and rudder pedals. Players who skip this step frequently discover their bindings are wrong only after a critical manoeuvre in a stormy career run.
Frequently Asked Questions
What is the very first key I should press when I load into the bridge?
Press Shift + B to bring up the Battery and DC bus, because every other system depends on it. Without the DC bus, the radar, VHF, GPS, and running lights stay dark even if their keybinds are correct. The Start Up Procedure knowledge base lists this as step zero for a reason.
Should I start in Free Roam or jump straight into Career mode?
Start in Free Roam for at least the first few hours, then move into Career once the wake-up procedure feels automatic. Career mode charges real credits for damage, and an unfamiliar captain can wipe out a licence run with a single bad departure. Community data shows captains who finish the Basic tutorial first recover their early bank balance twice as fast.
Which starter ship should I pick for the first voyage?
The fishing trawler is widely considered the best starter hull because it is small, manoeuvrable, and forgiving in shallow water. Its bridge is simpler than a cargo ship, the engine is responsive at low speed, and the docking panel is approachable for first-time captains. Hold off on tankers and cruise ships until at least the second licence.
How do I open the radio and call harbour control?
Bring up the VHF radio with Shift + C, then tune to Channel 16 for initial contact. Harbour control will hand you a working channel and a slip assignment. The radio stack is the same on every hull, so learning it once on the trawler transfers to every larger ship you licence into later.
Can I remap the controls and save my layout?
Yes, the input settings menu lets you rebind every key, axis, and gamepad button, and you can save the layout to a named profile. Bind the wake-up sequence to keys you can reach without looking, save the profile under a memorable name, and consider uploading it to the workshop once it feels locked in.