
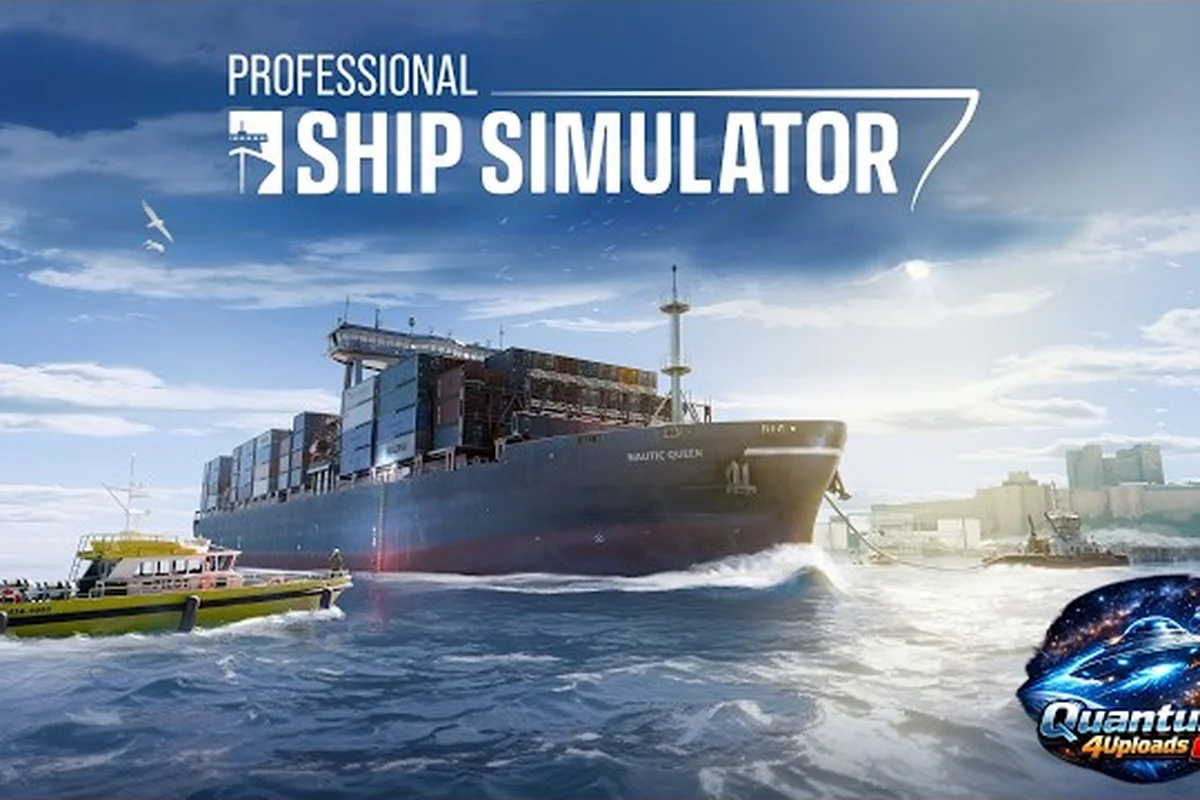
A dark cockpit greets every new captain stepping aboard for the first time in Professional Ship Simulator, and that empty bridge is the single biggest reason beginners stall before they ever leave the harbor. This Professional Ship Simulator guide walks you through the exact sequence of switch flips, throttle moves, and anchor drops that turn a silent console into a working ship, so your first open-world voyage feels intentional instead of accidental.
Powering Up the Bridge and Lighting the Ship
Every Professional Ship Simulator tutorial starts in the same place: the battery. Pressing shift+B wakes the DC bus and energizes the entire bridge, which is the prerequisite for everything else you can do. Without that initial switch, no radio, no radar, and no lights respond, so the simulator effectively tells you, in the most realistic way possible, that you cannot leave port cold.
Once the battery is live, the next decision is what to bring online. The simulator mimics real vessel electrical logic, so the systems are tiered rather than all-on, and a sensible first-time power-up sequence is to bring the DC bus up first with shift+B, then follow the eleven-step ramp from the AC generator down through navcom, radar, sonar, VHF, and finally the lighting stack. Skipping ahead, for example trying to call harbor control on VHF before the AC bus or NavCom is up, is exactly the cold-start mistake that locks new captains out of departures in early professional ship simulator tutorial sessions, because unpowered subsystems simply refuse inputs.
| Step | Action | Keybind | Purpose |
|---|---|---|---|
| 1 | Battery / DC bus | shift+B | Energizes bridge electronics |
| 2 | AC generator | ctrl+B | Powers larger ship systems (not on small boats) |
| 3 | NavCom (GPS, AIS/ENIS) | shift+G | Position and traffic awareness |
| 4 | Radar | shift+R | Contact detection (only on equipped ships) |
| 5 | Sonar | U | Underwater contact scanning |
| 6 | VHF radio | shift+C | Harbor and bridge-to-bridge comms |
| 7 | Running lights | L | Required for night and harbor navigation |
| 8 | Internal lights | shift+L | Bridge visibility |
| 9 | External lights | ctrl+L | Deck and mast illumination |
| 10 | Spot light | alt+L | Focused beam for pier work |
| 11 | Monitor brightness | alt+B | Comfort adjustment |
The shift+B startup is a deliberate design choice from the developer at NauticXP, and the order matters because smaller craft run strictly on DC, while larger vessels expect you to bring the AC bus online before the heavier systems respond. Players coming from arcade-style boat games often miss this, and they spend their first sessions clicking dead switches. Treat the DC bus as the master key, and the rest of the bridge follows predictably. If you want a deeper look at how this maps onto a beginner-friendly progression path, the 2026 beginner overview covers the learning curve from cold start to confident captain.
Brightness, Monitor Layout, and Crew Comfort
Beyond the core power sequence, the monitor brightness toggle (alt+B) is more important than it looks. Bridges in Professional Ship Simulator reflect glare at certain sun angles, and a dim monitor during a dawn departure can hide critical AIS contacts. Players report that dropping brightness by one notch in morning runs and raising it again at dusk reduces missed-vessel warnings noticeably. The same principle applies to the starter guide for first ships, where monitor calibration is flagged as a foundational habit rather than a cosmetic tweak.
Clickable Cockpit: Mouse Steering and Throttle Control
Once the bridge is live, the clickable cockpit becomes your primary tool for actually moving the ship. Every steering device, from the traditional wheel to the azipod control and the forward lever, responds to a left-mouse hold and a horizontal drag away from the device's center. This Professional Ship Simulator walkthrough treats that single mechanic as the foundation of ship handling, because the same logic governs anchors, thrusters, ramps, towlines, and the individual throttles for main, port, and starboard engines.
Holding the mouse and dragging to the left spins the wheel or lever counterclockwise, while dragging right spins it clockwise, mirroring how a real helm behaves under hand pressure. The throttle behaves the same way, with the drag distance mapping to power output. Beginners who try to click once and release will see no response, because the system is built around sustained input rather than discrete taps.
Main, Port, and Starboard Throttle Behavior
| Throttle | Use Case | Beginner Mistake |
|---|---|---|
| Main throttle | Overall ahead/astern power | Dragging past center, overshooting dock speed |
| Port throttle | Asymmetric thrust, port-side maneuvers | Forgetting to match starboard on a straight leg |
| Starboard throttle | Asymmetric thrust, starboard-side maneuvers | Leaving it engaged during neutral drift |
The asymmetric throttles are what make precise berthing possible, and they are also the reason a separate docking and berthing tutorial exists for players who want to graduate from open-water cruising to pier work. The Professional Ship Simulator tutorial logic here is that the clickable cockpit teaches muscle memory first, so the keyboard bindings feel like an extension of your mouse hand rather than a separate skill tree.
Why Mouse Beats Keyboard for Beginners
Although every device has a keybind, new captains consistently report faster learning when they start with the mouse. The visual feedback of watching the wheel rotate in sync with your drag builds a stronger mental model than pressing a key and seeing a number change on a gauge. Once that mental model is solid, the keyboard shortcuts feel like accelerants rather than replacements, which is the order the developers at NauticXP recommend on the official clickable cockpit documentation.
Anchor System: Lowering, Holding, and Raising
Anchoring is where many first-time players lose the most time, because the procedure looks simple on paper but punishes rushed inputs. Each anchor is controlled by a dedicated panel on the bridge console, and depending on the ship class, the anchor runs on either DC power (small craft) or the AC power bus (larger vessels). The simulator enforces that distinction, so lowering the anchor on a small boat without the battery up simply does nothing.
The official anchor system documentation lays out the safe procedure in three steps: slow the vessel to under 8 knots, lower the chain roughly 1.5 to 2 boat lengths ahead of the planned anchor point, and only then let the hook set. This sequence is not arbitrary. At 8 knots or more, the chain can snap under load, which is the single most common way beginners damage their virtual gear and have to pay for repairs out of their career budget.
Anchor Procedure by Ship Size
| Ship Class | Power Source | Recommended Approach Speed | Chain Length |
|---|---|---|---|
| Small boat | DC bus | Below 5 kt | 1.5 boat lengths |
| Mid-size vessel | AC bus | 5-7 kt | 1.75 boat lengths |
| Large ship | AC bus | Below 8 kt | 2 boat lengths |
The "lower ahead of the planned point" instruction is the part most players skip, because the map view makes it tempting to drop the hook directly over the target. In practice, the vessel carries forward momentum even with the engines in neutral, so a point that looks correct on the chart is already past you by the time the chain pays out. The professional habit is to identify the bottom type first, calculate drift, and only then commit to a drop point. Players with money-making pressure in career mode especially benefit from this discipline, because a broken anchor chain can wipe out a session's earnings.
Raising the Anchor Without Drama
Raising the chain is the reverse process, but the simulator expects you to verify the hook is clear before applying full hauling power. A common Professional Ship Simulator tip from experienced captains is to raise in short bursts, listening for the chain tension indicator, and only committing to full retrieval once the hook visibly breaks free of the seabed. Ramming the winch at full speed with the anchor still buried is the second most expensive beginner mistake after dropping at too high a speed.
First Voyage Planning: Charts, Weather, and Speed
With the bridge powered, the clickable cockpit under your hand, and the anchor procedure internalized, the next step in this Professional Ship Simulator walkthrough is planning a voyage you can actually finish. The simulator includes weather layers, shipping lanes, and AIS traffic, and ignoring any of them turns a routine transit into a recovery operation. Beginners should treat the planning phase as part of the gameplay rather than a chore before it, because the rewards for clean execution are higher career payouts and fewer failed missions.
A reasonable first voyage profile looks like this: a short coastal hopper of roughly 45 minutes total elapsed time, starting from a familiar home port so the harbor approach is already memorized, heading to a neighboring terminal along a plotted leg of 15-20 nautical miles with at least two waypoints marked for course changes. Pick a window where the in-sim weather layer shows winds below 15 knots and visibility above 5 nautical miles, because storm routing during a tutorial transit is how new captains in this Professional Ship Simulator walkthrough end up diverted to a scenario they cannot yet evaluate.
| Phase | Time Spent | Key Action |
|---|---|---|
| Chart review | 3-5 minutes | Plot waypoints, note hazards |
| Weather check | 1-2 minutes | Confirm wind, visibility, sea state |
| AIS scan | 1 minute | Identify crossing traffic |
| Departure | 5-10 minutes | Clear harbor at low power |
| Open water | 20-40 minutes | Hold course, monitor radar |
| Approach | 5-10 minutes | Reduce speed, hail harbor |
| Berthing | 10-15 minutes | Use asymmetric throttles |
The Professional Ship Simulator tips that experienced players emphasize are usually about reducing speed early rather than late. Because the simulator models momentum accurately, cutting throttles 10 minutes before the harbor entrance gives the vessel time to bleed off speed naturally, which means you arrive with predictable handling instead of a wall of inertia. That habit alone separates a clean first voyage from a series of near-miss reports to the harbor master.
Reading AIS and Radar Together
| Contact Source | What It Shows | When to Trust It |
|---|---|---|
| AIS (shift+G) | Ship name, course, speed, type | Open water, near harbor entrances |
| Radar (shift+R) | Range, bearing, relative motion | Poor visibility, night, fog |
| Visual lookout | Lights, silhouettes, sound signals | Final approach, crowded marinas |
Reading these together rather than in isolation is one of those Professional Ship Simulator tips that sounds obvious but only clicks after a few voyages. AIS can drop out in poor weather, radar can clutter in rain, and visual lookouts become useless at night without external lights. The robust habit is to use all three, cross-checking contacts, so a single sensor failure does not turn into a collision.
Career Mode Integration and Progression Habits
The simulator's career mode is where most captains spend their hours, and the systems above feed directly into how much money you make and how quickly you unlock larger ships. The connection between clean bridge procedures and career rewards is explicit in the mission structure, with bonuses paid for undamaged deliveries, on-time arrivals, and clean anchor drops. The full mission list and types shows how heavily each contract weights procedural compliance, so the time you invest in the startup sequence pays back across the entire career.
A practical progression ladder for a professional ship simulator guide typically maps each ship class to the specific bridge procedure you must master before moving up, because the simulator scales penalties in direct proportion to vessel tonnage — small boats forgive sloppy DC startup with only minor battery drain, mid-size vessels expose weak AC bus discipline through cascading breaker trips during docking, and large ships turn a missed anchor drop into a multi-thousand-coin harbor fine that can wipe out three undamaged-delivery bonuses at once, as the mission list and types contract weighting makes clear when you compare the repair-cost curve against the earnings table below.
| Career Stage | Ship Class | Focus Skill | Typical Earnings |
|---|---|---|---|
| Starter | Small boat | DC startup, basic throttle | Low, but low repair cost |
| Mid-game | Mid-size vessel | AC bus, asymmetric docking | Moderate, steady |
| Late-game | Large ship | Anchor procedure, harbor comms | High, but high repair risk |
| Endgame | Mixed fleet | Crew management, weather routing | Highest, with bonus stacking |
The Professional Ship Simulator tutorial loop that veterans recommend is to never advance to the next ship class until the current one feels boring. That boredom is the signal that the startup, steering, and anchor procedures are automatic, which is exactly the foundation a larger ship requires. Skipping ahead produces captains who can spawn a heavy vessel but cannot dock it, and the career economy punishes that imbalance quickly through repair bills and missed contract windows.
Common First-Voyage Mistakes
Even with the procedures above, a few patterns show up repeatedly in community reports. The most frequent are dropping the anchor at harbor speed rather than under 8 knots, forgetting to engage the AC bus before testing heavier systems, and trying to berth using only the main throttle. Each of those mistakes is recoverable, but each one also teaches a different lesson about how the simulator models real ship behavior, and avoiding them on the first run keeps the career economy healthy.
Another Professional Ship Simulator tip worth keeping is to save the game at the moment you finish the startup sequence. The startup itself is the most failure-prone phase, and a quick save right after the AC bus comes online means a crashed radar or a missed switch does not cost you a 20-minute restart loop. This habit feels slow until the first time it saves a session, at which point it becomes a non-negotiable part of the routine.
Frequently Asked Questions
What is the very first key I should press when starting Professional Ship Simulator?
Press shift+B to engage the Battery and DC bus, because no other bridge system responds until the DC bus is live. Once the battery is on, you can bring the AC generator, NavCom, radar, sonar, VHF radio, and the lighting circuits online in any order you prefer.
How do I steer the ship with the mouse in the clickable cockpit?
Hold the left mouse button on the wheel, azipod control, or lever and drag horizontally away from the device's center. Dragging left rotates the device counterclockwise, dragging right rotates it clockwise, and the same logic applies to the main, port, and starboard throttles.
When should I lower the anchor for a safe drop?
Slow the vessel to under 8 knots, identify the planned anchor point, and lower the chain roughly 1.5 to 2 boat lengths ahead of that point. The anchor runs on DC power for small boats and on the AC bus for larger vessels, so make sure the relevant bus is online before you try to drop.
Can I complete a voyage without ever using the keyboard shortcuts?
Yes, the clickable cockpit supports nearly every bridge action through mouse interaction, but keyboard shortcuts speed up the most frequent inputs. Most new captains start with the mouse to build muscle memory and then layer in keybinds once the bridge layout feels familiar.
What is the fastest way to earn money early in career mode?
Focus on clean procedural execution: undamaged deliveries, on-time arrivals, and safe anchor drops all carry bonus payouts that compound across contracts. The career mode rewards consistency more than speed, so learning the startup and anchoring routines thoroughly tends to out-earn rushing larger ships.