
Maps & Harbours
Professional Ship Simulator maps and harbours: the Rügen region and the Strait of Dover, 40+ harbours, thousands of real seamarks, offshore installations and busy AI shipping traffic.
Introduction
Two large sailing regions ship with Early Access, and both are built from real height and depth data rather than hand-drawn approximations. Rügen covers roughly sixty by one hundred and twenty kilometres of the German Baltic, taking in the approaches to Stralsund, Sassnitz and Greifswald. The Strait of Dover is the larger of the two at roughly one hundred and forty kilometres square, spanning the channel between England and France with Dover and Ramsgate as its main hubs. Between them they hold more than forty harbours, around twenty of which offer radio-menu mission tasking, plus thousands of real-life seamarks and obstacles with functioning navigation lighting. Offshore wind farm and oil platform areas support logistics and firefighting work, dense commercial traffic fills the shipping lanes, and a tile-based map system is designed to accept future regions and scenery add-ons.
Regions at a Glance
| Region | Size | Character | Good For |
|---|---|---|---|
| Rügen | 60 x 120 km | Baltic coastal transits and island approaches | Tug work, ferry runs, buoy repair |
| Strait of Dover | 140 x 140 km | Busy channel with heavy commercial traffic | Ferry crossings and AIS avoidance practice |
| Stralsund | Harbour | Confined marina and dock areas | First berthings and line handling |
| Sassnitz | Harbour | Ferry terminal with RoRo traffic | Schedule keeping and terminal procedures |
Regions & Harbours
Rügen
The gentler of the two launch regions and the better place to learn coastal work.
Strait of Dover
The traffic map, where situational awareness matters more than seamanship.
Harbours and Tasking
More than forty harbours, with roughly twenty offering radio-menu mission tasking.
Offshore Areas
Wind farms and platforms that exist mainly to give logistics and firefighting a home.
Core Mechanics
Each region plays to a different skill. Rügen is the friendlier of the two: coastal transits are relatively short, the harbours are numerous, and there is enough open water to make mistakes recoverable while still offering confined berths for practice. The Strait of Dover is the shipping-lane map, where the challenge is not the water but the traffic — dense commercial movement in defined lanes means collision avoidance stops being theoretical, and the AIS and CPA workload rises sharply. Around twenty harbours across both regions issue mission tasking over a radio menu, which turns geography into an economy: your choice of base determines which contract families are conveniently available and how much empty transit you eat between jobs.
Advantages
Real survey data is the feature that makes these maps worth learning. Approaches, shoals, channel widths and depths behave the way the charts describe, so time spent studying a harbour genuinely transfers into a better first attempt. Seamarks and navigation lights are placed to real-world positions, which means night navigation is a test of chart literacy rather than of memory. The tile-based structure means the world is designed to grow, and because there are two very different regions available from launch, you can move between the forgiving Baltic coast and the demanding channel without buying anything extra. That economy of location is easy to underestimate until you notice how much of a session is spent repositioning.
Challenges
The map size is a double-edged feature. Long transit legs are genuinely atmospheric the first few times and then become pure overhead, which is exactly the problem Fast Travel exists to solve but which still shapes how you plan a session. Dense AI traffic in the Strait of Dover is unforgiving: a captain who is still learning collision avoidance will find the channel stressful rather than exciting. Offshore areas and scenic detail are also still developing in Early Access, and the more specialised installations are better suited to the logistics and firefighting mission families than to casual exploration. Planning around it is straightforward once you accept that Fast Travel exists to remove empty legs rather than to skip content.
Frequently Asked Questions
Which map should a new captain start on?+
How many harbours are there and do they all offer missions?+
Will more maps be added during Early Access?+
Quick Tips
Base yourself near a harbour that issues tasking and sits roughly in the middle of the work you prefer. Commuting thirty minutes of empty water at each end of a session is the most common way players quietly waste their own time. Note which harbours issue tasking and plan your base around them rather than around scenery.
Learn one harbour properly before moving on. Being able to berth confidently in a single port in poor conditions is worth more than vague familiarity with a dozen, and it gives you a safe place to bring a damaged vessel. Sail the approach in daylight before attempting it at night, so the pattern is familiar before visibility drops.
On the Dover side, treat the shipping lanes as a system rather than as individual ships. Read the overall traffic flow first, then decide where your crossing fits into it. Reacting to one contact at a time in that density is how close calls happen. Keep a nearby safe harbour in mind for every voyage, in case damage forces an early end to the trip.
Featured
Professional Ship Simulator Best Harbour: Top Ports Ranked
Find the Professional Ship Simulator best harbour for your mission, from offshore wind farms and oil platforms to open-world ports for free-roam.
Professional Ship Simulator Maps: Rügen, Dover & All Regions
Navigate the Professional Ship Simulator maps covering the Rügen coast, Strait of Dover, and every region with 40+ ports for open-world voyages and missions.
Professional Ship Simulator New Maps: Mods & Editor
Explore every Professional Ship Simulator new maps option, from Steam Workshop modded harbours to fast-travel and chart overlays.
All Articles
Professional Ship Simulator Depth Data: Dry Docks
Use Professional Ship Simulator depth data, draft checks, and tidal safety margins to find dry-dock repair harbours and the safest starting port.
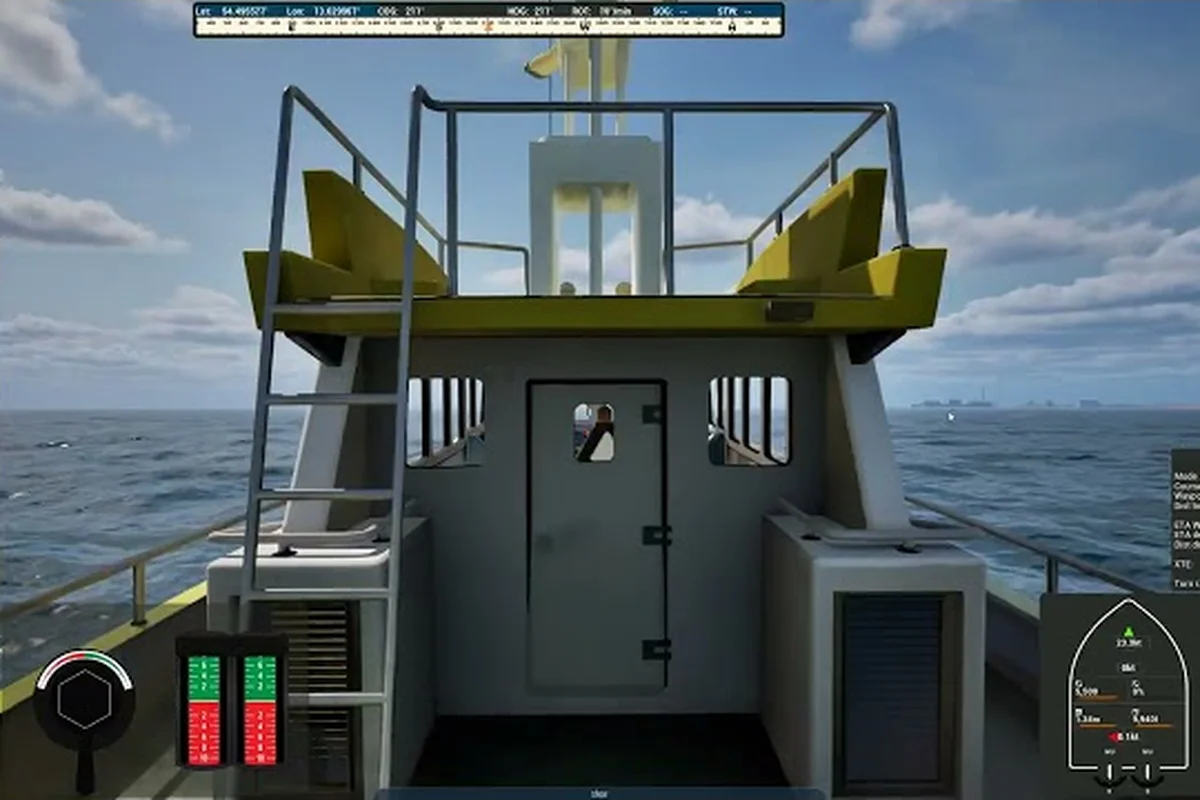
Professional Ship Simulator Harbors: Scenery & More
Explore Professional Ship Simulator harbors with real terrain, bathymetry, wildlife, dry-dock repair spots, and ferry departure points across the map.
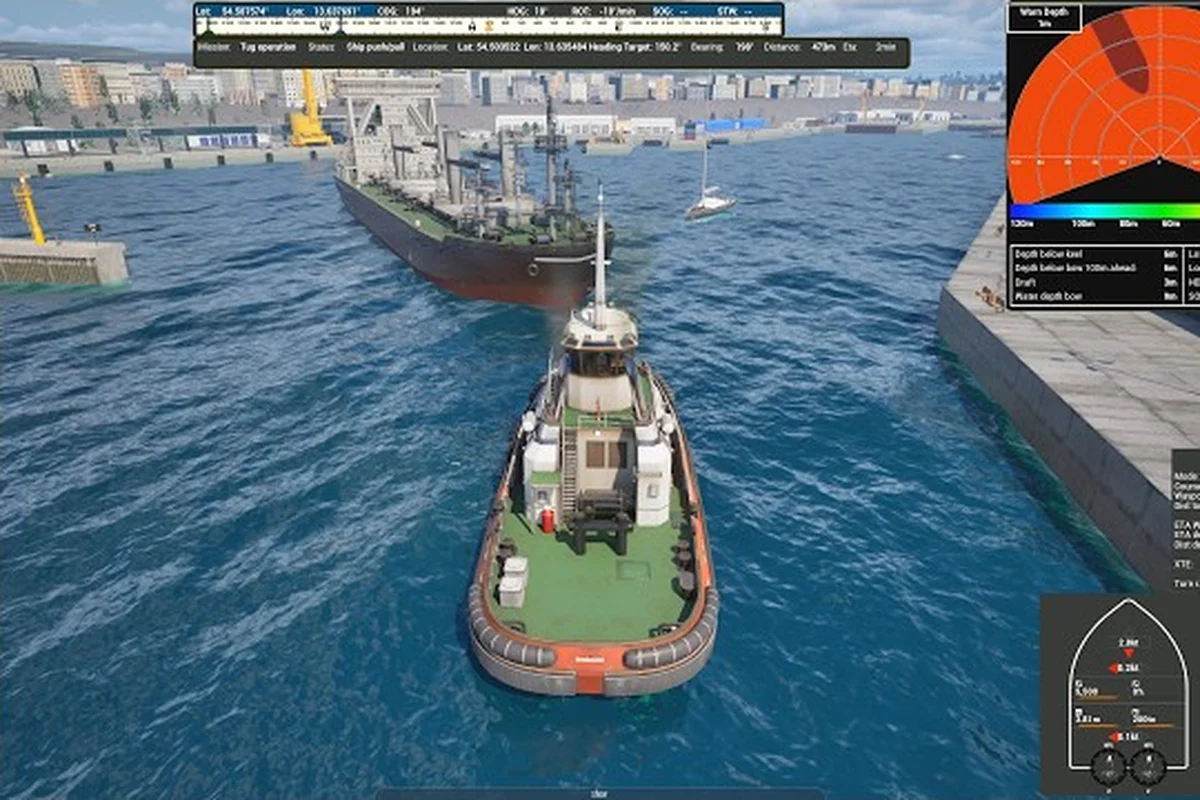
Professional Ship Simulator Island of Rügen: Ports
Explore Professional Ship Simulator Island of Rügen and surrounding waters, covering the Baltic, Dover, and every port.
Professional Ship Simulator Ramsgate: Port Guide & Approaches
Sail into Professional Ship Simulator Ramsgate with this port guide covering Stralsund, Sassnitz, Greifswald, and Lubmin approaches alongside key harbour tips.