
The Professional Ship Simulator flag panel is the single most personal space on your bridge, the place where your ship stops feeling like a preset and starts looking like a yacht you actually own. Every vessel in the sim carries two signal-flag slots — an owner flag and a country flag — alongside a courtesy flag that changes the moment you cross into foreign waters. A separate light panel shows your running lights, masthead anchor beam, and three special-light configurations you can flip with a single click, while the clickable cockpit lets you snap between bridge, bow, stern, and external view modes the same way a real helmsman would scan the horizon.
This guide maps every control surface you interact with after spawning, so you spend less time hunting menus and more time steering. The official Professional Ship Simulator wiki walks through each toggle, but what follows is the practical, run-the-ship version: which slot means what, how to layer lights for a dawn departure, and how the clickable cockpit view modes tie everything into one smooth routine.
Reading the Signal Flag Slots
Owner, Country, and Courtesy at a Glance
Every ship in the sim arrives with two default flag slots wired into the masts, and a third courtesy slot that swaps based on the territorial waters you are currently sailing in. The owner flag is yours forever — a vanity signal that says "this is my hull" and the way other skippers in busy harbors identify you at a distance. The country flag is the nationality your vessel is registered under, and the courtesy flag is the diplomatic courtesy you fly when entering a foreign port, exactly the protocol real mariners follow under the International Code of Signals.
The layout is deliberately simple: hover over a slot, scroll the mouse wheel to cycle through the available national and yacht-club ensigns, then click to lock your choice. A second click on the same slot lowers the flag, which is the right move when you are docked stern-to and want a tidy silhouette.
| Flag Slot | What It Shows | How to Change | When to Lower |
|---|---|---|---|
| Owner flag | Personal yacht-club or house ensign | Hover + mouse wheel scroll | When entering a foreign port for extended stay |
| Country flag | Registered nationality of the vessel | Hover + mouse wheel scroll | Rarely lowered, even abroad |
| Courtesy flag | Nationality of the waters you are sailing in | Auto-updates near foreign coastlines | Click the slot to clear before docking |
Naming Conventions and Identification
The flag name appears as a small label to the right of each slot the moment you hover, which is the easiest way to confirm you are flying the right signal before a busy channel crossing. Veteran players recommend setting the owner flag once at the start of every session and never touching it again, because a consistent silhouette makes you easier to spot on the minimap when you are running convoys with friends.
Country flag changes are usually tied to a save profile, while the courtesy flag updates dynamically as you approach harbor buoys and approach sectors. If you want to fly a specific courtesy flag for a screenshot — say, a Mediterranean cruise — you can pin it manually by clicking the slot the moment you enter the region, and the game will respect your choice until you exit the territorial boundary.
The Light Panel and Running Lights
Navigation Lights for Every Visibility Scenario
The light panel sits beside the flag panel on most ship bridges, and it does far more than flip a few switches. The upper section shows the live status of your running lights — port red, starboard green, stern white, masthead white — which are the four mandatory signals every powered vessel must display between sunset and sunrise, and during any restricted-visibility window. According to the Light Panel wiki entry, the lower section of the panel shows your currently selected special-light configuration, and a single mouse click rotates through three preset modes: Anchor, Not Under Command, and Towing.
A working helmsman treats light configuration as a planning tool, not an afterthought. The moment visibility drops below visual range, the running lights become the only way nearby traffic can judge your heading and aspect, and getting the configuration wrong is the fastest route to a collision penalty.
| Light Configuration | When to Use | What Other Skippers See |
|---|---|---|
| Standard running lights | Night sailing, open water | Red port, green starboard, white stern, white masthead |
| Anchor lights | Moored or anchored in a marked berth | All-around white, no sidelights |
| Not Under Command (NUC) | Disabled, drifting, restricted maneuverability | Two red vertical lights, sidelights off |
| Towing / Special | Pulling an auxiliary boat or barge | Yellow towing light over stern, limited sidelights |
Special Light States in Practice
The three special-light presets are not just cosmetic — they map to real COLREGs scenarios that come up in every long crossing. The Not Under Command state is the right call when your engine cuts out near a shipping lane, because it tells everyone nearby that you cannot get out of their way. The Towing configuration is essential when you are escorting an auxiliary boat into a tight harbor, where a tug-and-barge silhouette needs to be unmistakable. The Anchor state lowers the visual profile of the ship at night, which is the right move when you drop the hook in a quiet cove and want to avoid being mistaken for an underway vessel.
Community testing on the developer beta branches suggests the special-light state interacts with AI traffic priority logic, meaning a correctly configured NUC signal can actually buy you extra stand-off distance from oncoming tankers, though exact spacing varies by server and weather routing.
The Clickable Cockpit and View Modes
Bridging the Four Default Viewpoints
A clickable cockpit is what separates the Professional Ship Simulator from a static screenshot engine — every surface on the bridge is wired to react when you click it, and the four default view modes give you the angles a real watch-keeper would cycle through. According to the Viewmodes wiki, your ship has four default viewpoints: external view, stern view (back of the ship), bow view (front of the ship), and bridge view. You can cycle through the available viewpoints by pressing V and Shift+V, and all four viewpoints are also accessible via the F1 to F4 function keys.
Each viewpoint serves a distinct purpose during a voyage. The bridge view is where you will spend most of your time because it shows the chart plotter, the autopilot status, and the flag panel in a single glance. The bow view is perfect for picking up leading marks on a coastal approach, while the stern view is the angle you want when reversing into a berth or watching a tow line trail behind an auxiliary boat. The external view is the cinematic angle — useful for screenshots, but rarely the right place to drive from.
| View Mode | Hotkey | Best For | Common Use Case |
|---|---|---|---|
| External view | F1 | Cinematic angles, screenshots | Recording departure reels |
| Stern view | F2 | Backing into berths, tow monitoring | Pilot boat operations |
| Bow view | F3 | Picking up leading marks | Harbor entrance, channel transit |
| Bridge view | F4 | Normal driving, full instrument panel | Open-water cruising |
View Presets and Head-Fixed Camera
Each of the four main viewpoints has eight view presets, so you are not limited to the default framing. A preset view is stored with Ctrl+F1 through Ctrl+F4, and the simulator remembers up to eight slots per main viewpoint, giving you 32 distinct camera positions to call up at any moment. By pressing and holding the right mouse key you can move the viewport in any direction, which is the right move when you want a closer look at the flag panel while still keeping the horizon in frame.
The head-fixed camera mode is the trick most new players miss. With Ctrl+V you fix the view to the heading of the ship, which means the camera rotates as the ship turns instead of sliding around the bridge. This is the configuration experienced skippers use when steering in fog, because it keeps the radar overlay and the visual horizon aligned, and prevents the disorienting "the world is spinning" feeling that a free camera produces in a long turn. For a deeper breakdown of the four primary viewpoints, preset banking, and multi-monitor layouts, the Professional Ship Simulator view modes guide walks through the head-fixed mode in detail.
The Ship Panel and Auxiliary Boat Operations
What the Ship Panel Actually Controls
The Professional Ship Simulator ship panel is the umbrella term for the cluster of switches, gauges, and click targets that live on the bridge console — throttle, telegraph, rudder angle, engine RPM, bilge level, and the electrical bus. It is the interface you interact with when the autopilot hands control back to you, and it is also where you wire the running lights, the special-light state, and the flag configuration into a single coherent routine. New players often treat the ship panel as a stack of unrelated toggles, but the simulator is designed so that every switch on that console is reachable from the bridge view without leaving the camera frame.
The bilge and electrical readouts are the ones most skippers ignore until something goes wrong. A rising bilge level means you have a hull breach from grounding on a charted rock, and the electrical bus tells you whether your radar, depth sounder, and running lights are still drawing from the same battery bank. In practice, a quick scan of the ship panel at every waypoint transition is the cheapest insurance you can buy against being stranded without navigation lights in a fog bank.
Bringing the Auxiliary Boat Into the Routine
The auxiliary boat is the small tender or workboat you can launch from the side davits of most larger vessels, and the ship panel is what tells the sim that you intend to lower it. According to community testing reported by players on the sim Discord, the auxiliary boat launches only when the parent ship is at near-zero waypoint speed and the davit arm is physically lowered, which means a click on the ship panel is the trigger, not a hotkey.
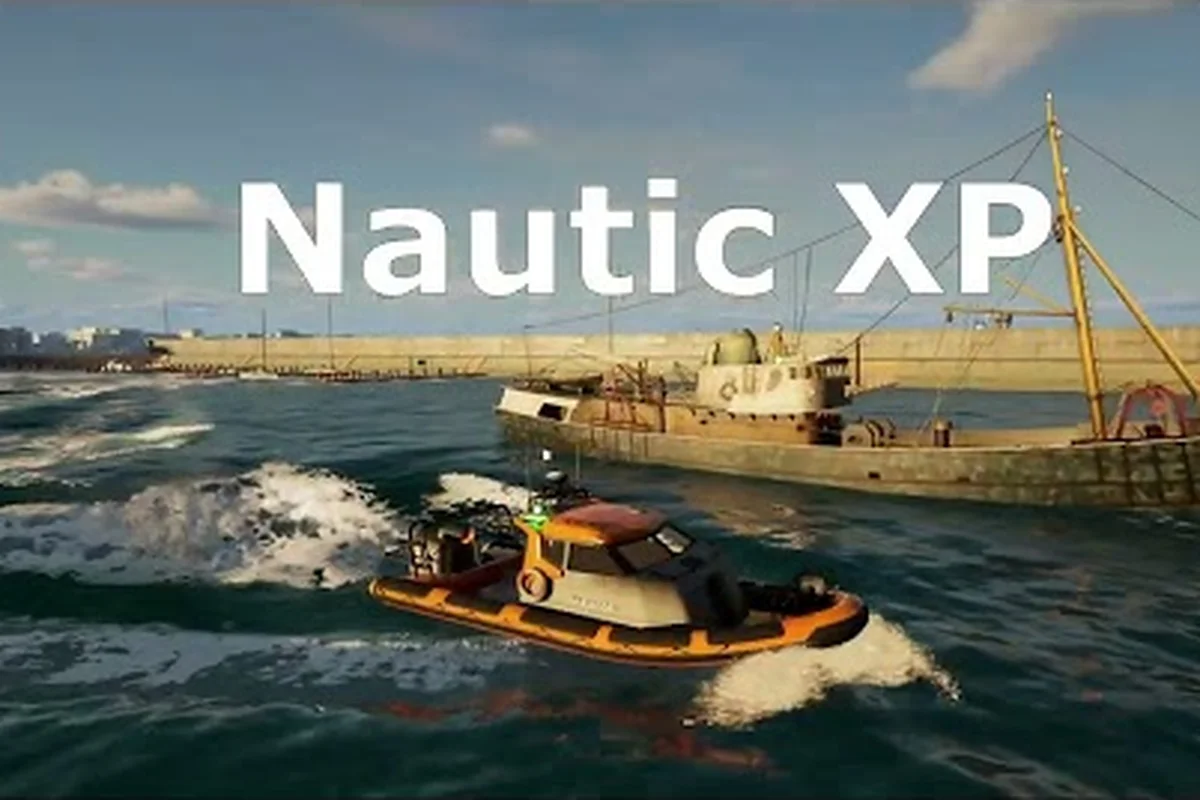
A clean auxiliary boat launch has three phases. First, bring the parent ship to a complete stop in a sheltered stretch of water, ideally out of any shipping lane. Second, click the davit control on the ship panel to lower the boat, then click the engine-start toggle so the auxiliary has power when it hits the water. Third, switch to the external view so you can see the full silhouette of the launch, then walk the camera around to confirm the tow line is clear before you throttle up. The Professional Ship Simulator auxiliary boat also makes a great scout for tight harbor entries, because you can run it ahead of the parent ship to read breakwater buoys without committing the larger vessel to a risky approach.
Putting the Flag Panel, Lights, and Cockpit Into One Workflow
A Practical Pre-Departure Checklist
A clean departure in the Professional Ship Simulator takes about ninety seconds if you build it as a fixed routine, and the routine should hit the flag panel, the light panel, the ship panel, and the clickable cockpit in that order. Start at the bridge view, set the owner and country flags first so the silhouette is locked in before any other player can spot an unflagged hull. Next, move to the light panel and confirm the running lights are active if you are casting off in the last hour of daylight, then click through the three special-light configurations once to confirm each preset fires correctly.
After the lights, drop down to the ship panel and verify the electrical bus is on, the bilge pumps are set to auto, and the autopilot mode matches the route you have plotted on the chart. Finally, cycle through the four view modes with F1 to F4 and confirm the head-fixed camera is on with Ctrl+V so the horizon tracks the heading once you are underway. This pre-departure checklist is the same routine the Professional Ship Simulator navigation guide recommends for first-light departures, and it scales from a short harbor hop to a multi-day ocean crossing.
| Departure Phase | Surface to Touch | Action | Common Mistake to Avoid |
|---|---|---|---|
| 1. Identity | Flag panel | Set owner + country flags, confirm courtesy flag | Leaving default flags flying into a foreign port |
| 2. Visibility | Light panel | Verify running lights, test special-light presets | Forgetting to test NUC light before a foggy channel |
| 3. Engineering | Ship panel | Bilge auto, electrical bus on, autopilot mode set | Skipping bilge check before coastal run |
| 4. Sightlines | Clickable cockpit | Cycle F1-F4, enable head-fixed camera | Starting in external view with free camera |
Visibility Tier Decisions at a Glance
The choice between configurations is not a style preference — it is a function of visibility, traffic density, and the maneuverability of your hull. The table below maps the most common scenarios to the right combination of flags, lights, and view modes, based on community data reported by long-haul skippers on the sim's official channels.
| Visibility Scenario | Light Configuration | View Mode | Flag Panel Action |
|---|---|---|---|
| Clear day, open water | Standard running lights off | Bridge view, head-fixed | No changes needed |
| Dusk departure | Standard running lights on | Bridge view, head-fixed | Owner + country flags set |
| Fog, coastal channel | Standard running lights + sound signals | Bow view, head-fixed | Lower courtesy flag if entering harbor |
| Towing auxiliary boat | Towing special-light preset | Stern view, free camera | Owner flag visible from astern |
| Anchored cove at night | Anchor lights only | External view, F1 | All flags lowered |
Layering the Clickable Cockpit With Autopilot
The clickable cockpit reaches its full potential when you let it share the bridge with the autopilot, because the X5 autopilot can hand control back to you instantly if a hazard appears. According to the X5 Autopilot wiki, the default autopilot has four modes: Manual (AP off), Override (AP overridden by the steering input system, returns to selected mode when input returns to zero), Heading (AP keeps the heading present when the mode was activated), and Waypoint (AP follows the available waypoints and selects the closest one when the mode is activated).
A clean bridge routine sets the autopilot to Waypoint mode for open-water legs, then switches to Heading mode for the final approach when the channel narrows. At that point, the clickable cockpit hands the visual back to the bow view, the flag panel confirms the courtesy flag for the harbor you are entering, and the light panel flips to the Anchor preset the moment you drop the hook. If you want a deeper comparison of the running-light logic, give-way rules, and shipping-lane etiquette that pairs with the light panel, the Professional Ship Simulator nautical charts guide covers the seamark side of the same workflow.
Frequently Asked Questions
How do I change the signal flags on the Professional Ship Simulator flag panel?
Hover over either of the two flag slots, then use the mouse wheel to scroll through the available national and yacht-club ensigns. Click the slot to lock the flag in place, and a second click lowers it. The flag name is shown as a label to the right of the slot the moment you hover, so you can confirm the right ensign before you commit.
What is the difference between the three special-light configurations?
The three special-light presets are Anchor (all-around white, no sidelights, used when moored or at anchor), Not Under Command (two red vertical lights, sidelights off, used when disabled or restricted in maneuver), and Towing (yellow towing light over the stern, used when escorting an auxiliary boat or barge). A single click on the lower section of the light panel cycles through them.
Can I save a custom camera angle for the clickable cockpit?
Yes, every one of the four default viewpoints — external, stern, bow, and bridge — has eight view presets. Store a preset with Ctrl+F1 through Ctrl+F4, and the simulator remembers the angle for the rest of the session. With Ctrl+V you can also fix the view to the heading of the ship, so the camera tracks the hull as you turn.
When does the courtesy flag change automatically?
The courtesy flag updates dynamically when you cross a territorial boundary into foreign waters, so the moment you approach a foreign harbor the slot reflects the local nationality. If you want to pin a specific courtesy flag for a screenshot, click the slot as soon as you enter the region and the game will respect your choice until you exit the territorial boundary.
How do I launch the auxiliary boat without damaging the davits?
Bring the parent ship to a near-zero waypoint speed in a sheltered stretch of water, then click the davit control on the ship panel to physically lower the boat, and click the engine-start toggle so the auxiliary has power when it hits the water. Switch to the external view to confirm the tow line is clear, then throttle up — community testing reported by players on the sim Discord indicates this sequence prevents the most common davit-snap bug.