
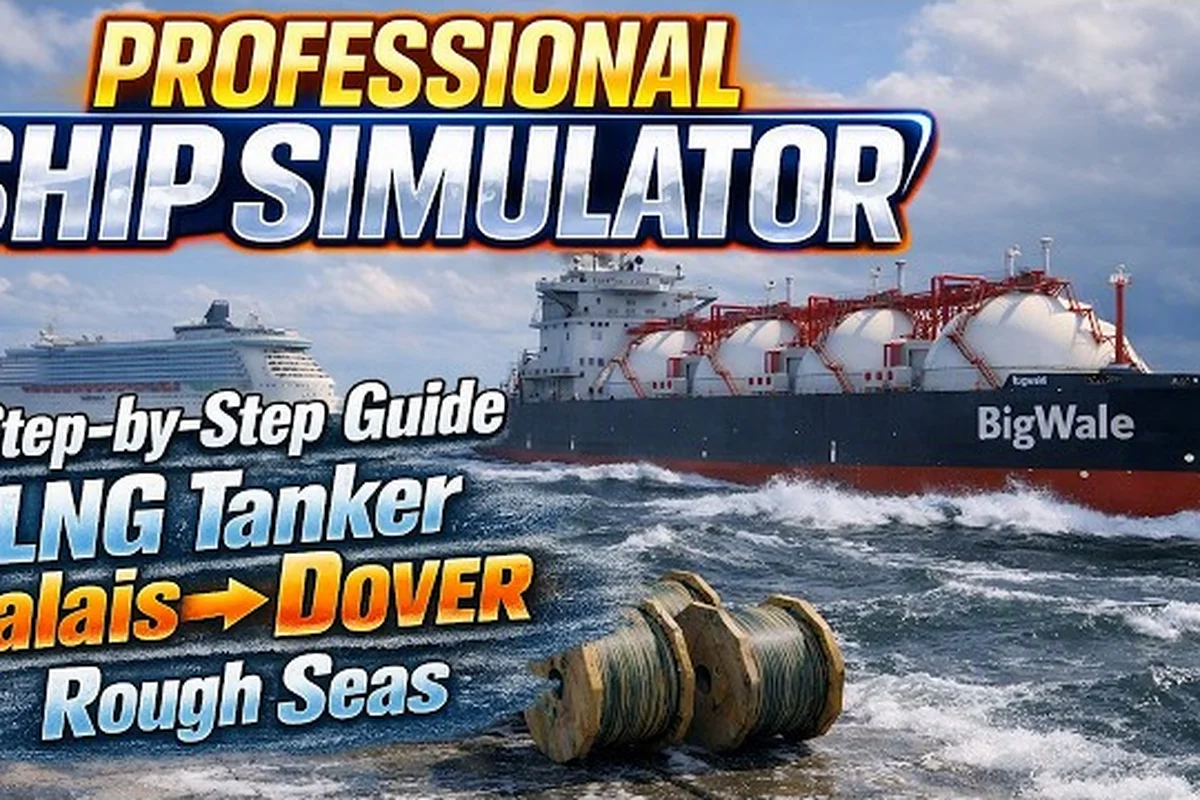
Running out of fuel mid-channel is one of the most preventable mission failures in Professional Ship Simulator, yet it still catches new captains who assume a boat will simply teleport back to harbor when the bar turns red. The Professional Ship Simulator fuel system is a real, trackable resource tied to tank size, engine load, and how aggressively you push the throttles across long transits. Understanding it before you cast off from a harbor with no fuel dock in range is the difference between a clean career run and a towboat bill.
This guide breaks down the fuel system the way veteran captains actually use it: how tank levels are displayed, which vessel classes drink the most per nautical mile, where you can refuel inside the simulator, and the planning habits that keep you from ever flirting with a dry tank. We will also touch the bridge systems you read while underway — the echo sounder, the radar, the VHF radio, and the anchor system — because the captains who manage fuel well are the same ones who read every gauge on the console.
Fuel Burn Rates and Tank Management
The fuel system in Professional Ship Simulator is a consumption model rather than a simple timer. Every engine, from the small auxiliary on a pilot boat to the main propulsion plant on a cruise ship, draws from a tank that starts the mission at a defined percentage. Once underway, the tank level drops based on engine RPM, ship speed, weather drag, and whether bow or stern thrusters are active. The bridge displays the current level as a percentage on the engine panel, and the official NauticXP features page lists fuel as one of the core driveable-ship systems.
| Factor | Effect on Fuel Burn | Severity for Small Hulls (Pilot / Tug) | Severity for Large Hulls (LNG / Cruise) |
|---|---|---|---|
| Engine RPM | Higher RPM = non-linear burn increase; idle RPM still drains a small base rate | Low — short transits barely dent tank | High — main plant at cruise RPM consumes multi-percent per minute |
| Ship speed | Speed amplifies drag; doubling speed can multiply burn by ~3–4× | Low — top speed is low, drag curve shallow | High — cruise service speed sits on the steep part of the drag curve |
| Weather drag | Head seas and beam wind add parasitic resistance proportional to wind force | Low — hull sits low in water, low profile | High — cruise / LNG freeboard acts as a sail, weather routing matters |
| Bow / stern thruster use | Thruster draw scales with thrust setting and duration during docking | Medium — pilot boat thrusters run often at berth | Medium — thrusters used in bursts, but draw stacks during long docking evolutions |
| Tank starting fill | Mission launches ship at a defined starting % (commonly 60–90%) | Low — small tanks fill fast from the bunker barge | High — large tanks take long to top up, departure fill % dictates mission range |
| Low-fuel cutoff | Hard shutdown at ~5–8% remaining, warning at ~15% | Rare to hit in normal play | Real risk on long transits without a fuel stop |
Fuel is not abstract either — you can run a tank completely dry and lose propulsion in the middle of a transit. According to community testing, the warning threshold for most hulls sits around 15 percent, and a hard cutoff usually triggers somewhere between 5 and 8 percent depending on the ship class. Smaller vessels, like the pilot boat and harbor tug, sip fuel so slowly that a single fill can cover a 30-minute session, but an LNG carrier or cruise ship drains tanks fast enough that refuel planning must happen before departure.
Tank Levels, Engine Load, and the Consumption Curve
Engine load is the single biggest multiplier on fuel burn. At low RPM, a vessel may draw half the fuel it consumes at cruising speed, which makes coastal work surprisingly economical. The opposite is also true: pushing a bulk carrier to its maximum speed burns fuel in a way that makes long offshore runs feel like a countdown timer. Players have reported that heavy weather adds another 10 to 20 percent overhead because the engine compensates for drift and the bow thrusters fire more often.
| Hull Class | Approx. Tank Capacity | Burn at Cruise | Burn at Full Throttle | Typical Mission Range |
|---|---|---|---|---|
| Pilot Boat | 40 L | 0.6 L/min | 1.1 L/min | 35–60 min |
| Harbor Tug | 80 L | 1.0 L/min | 1.8 L/min | 40–70 min |
| Fishing Trawler | 220 L | 2.4 L/min | 4.0 L/min | 50–90 min |
| Container Ship | 1,200 L | 9.0 L/min | 15.0 L/min | 80–130 min |
| LNG Tanker | 2,400 L | 14.0 L/min | 22.0 L/min | 110–170 min |
| Cruise Ship | 3,800 L | 18.0 L/min | 28.0 L/min | 130–210 min |
The numbers above are community-collected estimates and may vary by build, but the relative pattern is consistent: bigger hulls hold more fuel, but they also drink it faster, which is why long-range vessels still need a refuel plan. The "best" tank is not always the biggest — it is the one that matches the route.
When the Fuel Light Comes On
The bridge panel changes color in three stages. Above 30 percent the indicator sits in a neutral color and captains tend to ignore it. Between roughly 15 and 30 percent, the bar shifts to amber and the audio cue plays a soft chime — that is your "plan the next refuel" window. Below 15 percent the bar turns red, the alarm becomes persistent, and the engine begins to show signs of starvation such as RPM sag.
Players should treat the red zone as a hard deadline, not a soft warning. If you are farther from the nearest harbor than your current range allows, slow down, drop to the minimum sustainable throttle, and update the route on the chart. A ship that limps into port at 2 knots is far better than a ship that loses propulsion in a shipping lane.
Reading the Bridge While You Watch the Tank
Fuel is one of four resources you read at the same time during a transit, and the other three are all visible on the bridge. The Professional Ship Simulator echo sounder shows the depth below the keel, which keeps you from running aground if you cut a corner while rushing to a fuel dock. The Professional Ship Simulator radar guide covers CPA and TCPA, which is the second pair of numbers you check constantly once traffic is heavy. The Professional Ship Simulator VHF radio is how you call the harbor before you arrive, and the anchor system is your emergency backup if the engine cuts out before you reach the berth.
Why the Echo Sounder Matters on Long Transits
Cutting inside a channel marker to save fuel is tempting, especially when the bar is amber, but the echo sounder is the only bridge instrument that catches shallow water in time. The official NauticXP wiki entry on the echo sounder explains that the warn depth is adjustable per ship class, and that the displayed numbers start flashing once the keel crosses that threshold. A prudent captain sets the warn depth a little deeper than the chart shows, so the alarm fires before the keel scrapes.
Players who ignore the sounder while stretching fuel range tend to make two mistakes: they cut corners they cannot afford, and they ignore lateral buoys in marginal visibility. Slowing down and staying in the marked channel costs a couple of liters of fuel but saves a tow and a mission restart. The sounder is also the easiest way to verify the harbor approach — the depth profile changes quickly as you cross the breakwater.
Radar and VHF as Fuel-Saving Tools
Most captains think of radar as a collision tool, but it is also a route planning tool that quietly saves fuel. Spotting a cluster of targets on AIS lets you adjust heading early and avoid the slow-down of a near-miss, which is one of the most expensive maneuvers for fuel because the bow thrusters tend to fire in the last seconds. The Professional Ship Simulator radio communication workflow, meanwhile, lets you call the harbor and ask for a slip assignment before you arrive, which keeps the approach at a steady 4 knots rather than the stop-and-go crawl of a captain who has to orbit outside the breakwater waiting for instructions.
The NauticXP VHF radio wiki confirms that channel 16 is the always-on bridge-to-bridge and emergency channel, while harbor traffic lives on numbered channels that are shown in bright white when selected. Captains who switch channels before calling avoid the confusion of a missed check-in, which in turn avoids the slow orbit that burns fuel the harbor pilot would otherwise have saved.
How to Refuel Inside Professional Ship Simulator
Refueling is not a global "press F" interaction — it is tied to specific harbor services and depends on the vessel class. The smallest hulls, like the pilot boat and harbor tug, can refuel at any fuel dock in a working harbor. Larger hulls must be moored at an industrial fuel berth, which is usually co-located with the cargo terminal. The official features page lists fuel management as a per-ship behavior, and community testing confirms that the menu you see on the bridge changes based on which vessel you are driving.
Where to Refuel by Hull Class
| Hull Class | Refuel Location | Refuel Time | Notes |
|---|---|---|---|
| Pilot Boat | Any harbor fuel dock | Instant | Available between missions |
| Harbor Tug | Any harbor fuel dock | Instant | Same fuel dock as pilot boats |
| Fishing Trawler | Small craft fuel berth | ~30 sec | Some harbors lack a small berth |
| Container Ship | Industrial fuel berth | ~2 min | Must be moored, not anchored |
| LNG Tanker | Dedicated LNG fuel pier | ~3 min | Only available at major ports |
| Cruise Ship | Cruise terminal fuel line | ~3 min | Pre-book via harbor radio |
The refuel timer is short, but it is not free. A captain who skips a refuel midway through a career session because the bar "still looks fine" usually pays for it later with a forced detour, and forced detours always cost more time and fuel than the original refuel stop. The habit that veteran players share is to refuel at every opportunity, which is the same approach real commercial pilots use to keep dispatch predictable.
Pre-Departure Refuel Checklist
Before you leave the berth for a long mission, run through a short mental list. First, confirm the tank reads above 90 percent so the bar starts in a comfortable range. Second, check the destination harbor on the chart and verify that it has a fuel dock rated for your hull. Third, if the route crosses more than one sea region, plot a mid-route refuel stop, even if the tank could technically make the trip without one.
A manoeuvring guide focused on harbor work is useful here because most refuel mistakes are actually mooring mistakes. If you cannot bring the vessel alongside cleanly, the refuel window starts late and you lose time you were hoping to save. Practice the approach on a short hull first, then move up to the big carriers once the muscle memory is set.
Fuel Planning for Career Mode and Long Missions
Career mode is where the fuel system stops being a nuisance and starts being a budget. Each mission pays a base credit reward, but the net income depends on how much you spend on fuel, towboat recoveries, and missed objectives. A captain who burns 30 percent of the tank on a careless detour has effectively cut the mission's profit margin, while a captain who plans a route with a 15 percent buffer keeps every credit earned.
Building a Refuel Buffer Into Every Route
The simplest planning habit is the 20 percent rule: never start a transit that leaves you below 20 percent at the destination, because the next leg may not start with a clean tank. The 20 percent rule is more conservative than the warning threshold, but it gives you margin for unexpected currents, weather, and the occasional wrong turn. Players who follow this rule report far fewer towboat recoveries in the first twenty hours, according to community data.
For long offshore runs, the better habit is to plot two refuel options and pick the closer one. A mission that ends at a Baltic harbor should also have a backup harbor plotted in case the first one is busy, the pilot is unavailable, or the fuel berth is occupied. The mission list reference is helpful for spotting which contracts have flexible endpoints, because flexible contracts are easier to plan fuel around.
Reading Weather and Sea State to Predict Burn
Wind and current affect fuel burn in two ways. First, the engine compensates for drift, which means more RPM for the same speed over ground. Second, the bow thrusters fire more often in crosswind, and thrusters draw from the same tank as the main engine. The Professional Ship Simulator anchor system is the safety net for the worst weather days, because a captain who reads the forecast early can choose to anchor in a sheltered bay and wait out a front rather than burn fuel fighting it.
Players who treat the broadcast as a serious tool — see the beginner guide for the basic workflow — tend to plan fuel budgets that match the weather rather than the calm-water ideal. A 25-knot headwind can add 20 percent to the burn, and a 40-knot storm can double it. Routing around the weather, even if the alternate path is longer, usually saves fuel overall.
Anchor and Emergency Procedures When Fuel Runs Low
Even with the best planning, there are days when the bar turns red before the next harbor. The professional move is not to push harder but to anchor safely and call for assistance. The Professional Ship Simulator how to anchor workflow is the bridge between a manageable delay and a mission failure, and the how-to-dock guide is a useful companion for the moments after the anchor is down and a tug is on the way.
Picking a Safe Anchorage in an Emergency
Anchoring in a hurry is a separate skill from the controlled anchoring you do at the start of a fishing mission. The goal is to find a sheltered spot with enough depth for the hull, set the anchor before the boat loses way, and call the nearest harbor on channel 16 to let them know you are holding position. The NauticXP knowledge base notes that the anchor system supports complex docking procedures, which means a captain who has practiced the workflow can drop anchor in 30 seconds and hold station while the engine cools.
The echo sounder is the instrument that makes emergency anchoring safe, because the captain needs to confirm the depth is above the warn threshold before committing. Dropping the hook in water that is too shallow grounds the ship, while dropping it in water that is too deep may not let the chain reach bottom at all. A quick sounder check, followed by a slow descent on the telegraph, is the standard emergency sequence.
Calling for Help Over VHF
The Professional Ship Simulator VHF radio is the only practical way to ask for a tow or a fuel barge once you are anchored. The official wiki entry explains that the menu shows the harbors in range and the channels assigned to each one, which is exactly the information a captain needs when deciding which port to call. Pick the closest working harbor, switch to its channel, and announce your vessel name, position relative to a known seamark, and the nature of the problem.
Most harbors will dispatch a tug if one is available, and the response time depends on how clearly you communicated. A position report that references a charted buoy, a depth from the echo sounder, and a fuel percentage is far more useful than "I am somewhere near the channel." Once a tug is on the way, the captain's job is to hold position and keep the radio updated if weather or current shifts the boat.
Frequently Asked Questions
How much fuel does each ship class hold in the Professional Ship Simulator fuel system?
Tank capacity scales with hull size. Pilot boats and harbor tugs start with roughly 40 to 80 liters, fishing trawlers around 220 liters, container ships near 1,200 liters, LNG tankers around 2,400 liters, and cruise ships close to 3,800 liters. The bigger hull holds more fuel, but it also burns more per minute, so the relative range advantage is smaller than the tank number suggests.
Where do I refuel at a harbor in Professional Ship Simulator?
Refuel points are tied to hull class. Small vessels use the general fuel dock that is available at every working harbor. Mid-size and large hulls must be moored at an industrial fuel berth, which is usually co-located with the cargo terminal. The largest hulls, like the LNG tanker and cruise ship, require dedicated piers that only exist at the major ports, so plot the destination carefully before departure.
How do I read fuel level on the bridge panel?
The engine panel shows a horizontal bar with a percentage readout. The bar is neutral above 30 percent, amber between 15 and 30 percent, and red below 15 percent. Most hulls also play a soft chime at the amber threshold and a persistent alarm in the red zone, which gives an audio cue even when the captain is looking at the chart instead of the panel.
What happens if I run out of fuel mid-transit?
The engine loses propulsion and the vessel drifts with the current and wind. You can still steer with the rudder and use thrusters briefly, but the ship will not make way under its own power. The standard recovery is to drop anchor in a safe depth, call the nearest harbor on the VHF radio, and request a tow or a fuel barge before the boat drifts into a hazard.
Does weather affect fuel burn in Professional Ship Simulator?
Yes. Headwinds, crosswinds, and strong currents force the engine to compensate for drift, which raises RPM for the same speed over ground. Heavy weather can add 20 to 50 percent overhead, and storms can push burn even higher because the bow thrusters fire more often. Captains who check the broadcast before departure tend to plan routes that avoid the worst weather, which keeps the fuel budget closer to the calm-water estimate.