
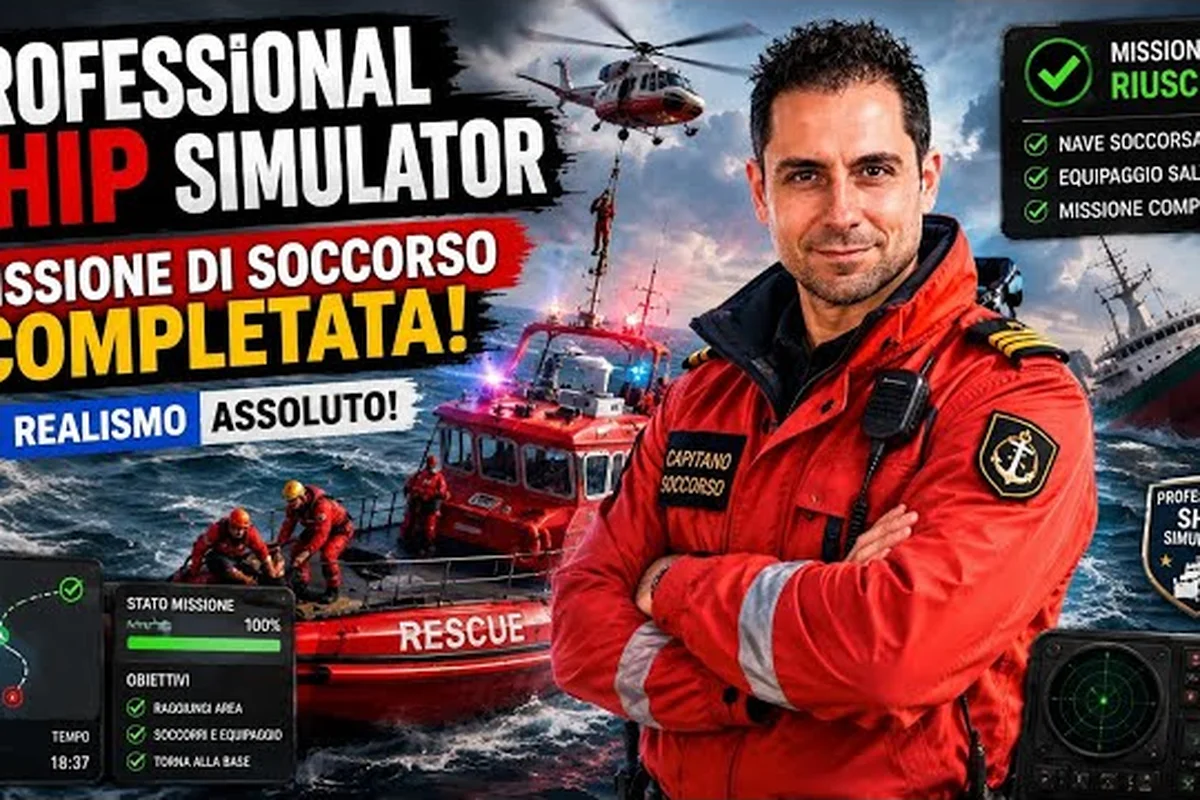
Reading a harbour channel at speed becomes ten times harder when the markers vanish into fog, rain, or snowfall, which is exactly why Professional Ship Simulator buoyage is one of the first systems every career captain needs to internalize. The lateral buoy rules, daymark shapes, and light rhythms built into the 2026 Early Access build follow the IALA-A convention used across Northern Europe, so a player who masters them on a Pilot Boat can carry the same reading skills straight onto a cruise ship approach. This guide breaks down how to interpret channel markers, how AI traffic reacts to your lateral position, and how weather shifts such as Professional Ship Simulator rain, Professional Ship Simulator snow, and reduced Professional Ship Simulator visibility reshape every transit you take.
Reading Channel Markers and the IALA-A Buoyage System in Professional Ship Simulator
The Professional Ship Simulator buoyage system mirrors the real-world IALA Region A conventions used in the North Sea, the English Channel, the Baltic, and the simulated Island of Rügen waters. Lateral marks tell the mariner which side of the channel is safe water, and they swap colours depending on the direction of buoyage — a critical detail that catches out captains who learned on Region B charts. The five core mark types appear across every harbour in the default map, and recognising each one by its daymark shape, topmark, and light characteristic is the foundation of safe pilotage.
The Five Core Mark Types You Will See in Every Harbour
The simulator ships with five lateral categories, each rendered with a unique combination of shape, colour, light phase, and topmark. The chart interface calls them out by name, and the bridge HUD overlays a tooltip when you hover the cursor on any marker, so learning the labels is just as important as memorising the colours. Here is how they break down at a glance:
| Mark Type | Colour | Daymark Shape | Topmark | Light Phase | Channel Meaning |
|---|---|---|---|---|---|
| Port Lateral | Red | Cylindrical (can) | Single red can | Any (often Fl R) | Keep red to port when returning from seaward |
| Starboard Lateral | Green | Conical | Single green cone | Any (often Fl G) | Keep green to starboard when returning from seaward |
| Preferred Channel to Port | Green-Red-Band | Cylindrical | Single green can | Fl (2+1) G | Main channel is to port at this junction |
| Preferred Channel to Starboard | Red-Green-Band | Conical | Single red cone | Fl (2+1) R | Main channel is to starboard at this junction |
| Cardinal Marks | Black-Yellow | Pillars/spheres with cardinal bands | Black double cones (N/S/E/W) | Q/V or very long flashes | Indicates safe water is to that compass quadrant |
When entering a harbour from seaward along the main channel, red port laterals should sit on your left and green starboard laterals on your right. Reversing direction — sailing from a berth back out to sea — flips the rule, and the simulator's chart view updates the labelling to match. Community testing on the Professional Ship Simulator nautical charts interface confirms that the in-game legend draws arrows that align with the active direction of buoyage, so a quick glance at the chart sidebar before casting off is worth the ten seconds it takes.
Light Characteristics and the Fog Problem
Each lateral mark pulses on its own rhythm, and Professional Ship Simulator visibility drops can range from a soft haze down to under 50 metres in heavy fog, so reading the flash pattern is your backup when the daymark colours wash out. Port laterals tend to flash red on a single phase, starboard laterals flash green, and preferred-channel marks layer two flashes of their primary colour with a single flash of the secondary colour to broadcast the junction. Cardinal marks use quick-flash or very-long-flash rhythms tied to the compass quadrant — for example, a North Cardinal mark flashes very rapidly because the top of a clockface points north.
Heavy precipitation complicates the picture further. In Professional Ship Simulator rain, the flash rhythm stays accurate but the bloom around each light grows softer, which can fool you into thinking two marks share a phase. In Professional Ship Simulator snow, the flakes scatter light in every direction and can hide a low port can entirely under a snow-dusted cap, which is why experienced captains keep the radar sea filter on at low range during winter transits.
How AI Traffic Reads Your Buoyage Decisions in Professional Ship Simulator
Lateral marks are not just visual aids — they also feed the Professional Ship Simulator AI traffic logic, because every merchant vessel, ferry, and pilot boat uses the same IALA-A rules to plan its own approach. When you straddle a channel incorrectly, the AI does not magically dodge you; instead, it slows, sounds the appropriate fog signal, and in some cases refuses to enter the same junction. Understanding this behaviour is the difference between smooth harbour transits and a chain of near-misses logged against your licence.
The AI Traffic Reaction Table at Channel Junctions
The simulator's traffic layer scales by hull size and mission priority. A small Pilot Boat will yield to a tanker, and a tanker will yield to a cruise ship. The reaction each vessel produces depends on whether you are inside the marked channel, on the wrong side of a lateral, or sitting in a junction. Here is how the AI traffic typically responds, based on community observations across the default map:
| Your Position Relative to Buoyage | AI Reaction (Small Hull) | AI Reaction (Mid Hull) | AI Reaction (Large Hull) |
|---|---|---|---|
| Inside marked channel, correct side | Maintains course and speed | Maintains course and speed | Maintains course and speed |
| Crossed over a lateral by ≤ 50 m | Slows, sounds one short blast | Slows, sounds one short blast | Holds course, may sound two short blasts |
| Crossed over a lateral by > 50 m | Alters course to open water, sounds five short | Holds course, sounds five short, may stop | Holds course, sounds five short, logs incident |
| Sitting in junction box | Yields to vessel with right-of-way | Yields per COLREGS Rule 18 | Yields per COLREGS Rule 18, may call on VHF |
| Anchored in marked channel | Suggests move on VHF | Sounds warning, logs incident | Sounds warning, dispatches harbour control |
These reactions are not pulled from official developer documentation — they reflect what players have reported across hundreds of hours of Career Mode and what the Professional Ship Simulator weather broadcast channel implies when harbour control calls a vessel out by name. Treat the table as a behavioural guide, not a hard contract, and always assume a large hull has the final say when visibility collapses.
Right-of-Way at Preferred-Channel Marks
Preferred-channel marks are where the buoyage and the COLREGS rules intersect most directly. When you approach a junction marked with a green-red-band port lateral, the primary channel continues to port, and any vessel that has the primary channel on her starboard side generally has right-of-way. The AI uses the same logic, so crossing the primary channel without clearance usually results in a chain of short blasts and a sudden course change from the larger ship. Holding station outside the junction box until the larger vessel clears is the safest move, especially in restricted Professional Ship Simulator visibility where a small Pilot Boat can disappear from a tanker's view inside 200 metres.
Visibility, Rain, and Snow: How Weather Reshapes Your Buoyage Approach
Professional Ship Simulator weather xp is the single biggest multiplier in the early-access economy, and a huge chunk of that weather xp comes from completing missions in Professional Ship Simulator rain, Professional Ship Simulator snow, and the various fog presets. The flip side is that the same weather that boosts your xp also punishes sloppy buoyage work, so the captains who climb the licence ladder fastest are usually the ones who treat poor Professional Ship Simulator visibility as a workflow change rather than a cosmetic effect.
The Three Core Weather States and Their Buoyage Impact
The 2026 build ships with three weather families that meaningfully change how you read the markers: clear, precipitation, and fog. Each one is selected through the pause-menu weather override, the randomise button, or the broadcast system, and the Professional Ship Simulator weather modes page breaks down the slider values for each preset. For buoyage work, the key differences are:
| Weather State | Visibility Range | Light Behaviour | Buoyage Reading Difficulty | Weather XP Multiplier (approx.) |
|---|---|---|---|---|
| Clear | 8–12 nm | Crisp flash, full colour | Easy | 1.0x baseline |
| Light Rain | 4–6 nm | Softened bloom, colour intact | Easy-moderate | 1.4x |
| Heavy Rain | 2–3 nm | Bloom spreads, red/green tint shifts | Moderate | 1.8x |
| Light Snow | 3–5 nm | Scatter halo, daymark may whiten | Moderate | 1.6x |
| Heavy Snow | 1–2 nm | Strong scatter, daymark hidden | Hard | 2.2x |
| Fog (medium) | 0.5–1 nm | Light phase remains accurate | Hard | 2.0x |
| Fog (dense) | < 0.5 nm | Light phase only, colour lost | Very hard | 2.5x |
The multipliers are reported by players running consistent Scenario Mode loops and align with what the in-game career summary tallies after each session, so treat them as guidance rather than a guarantee. What matters more for buoyage is the visibility range itself, because once you drop below one nautical mile, the light phase is the only cue you will get, and misreading a 2+1 green flash as a single green flash can send you across the wrong side of a junction.
Precipitation and Daymark Camouflage
Rain and snow do more than blur the screen. In Professional Ship Simulator rain, the deck becomes slick and the wheel feedback on smaller hulls gets heavier, which forces you to slow the vessel just to keep the bow on the right heading. In Professional Ship Simulator snow, the same precipitation accumulates on top of the lateral buoys, slowly turning a red port can into a white-capped pillar that looks identical to a green starboard cone from 200 metres away. Community testing suggests snow accumulates faster on cylindrical port laterals than on conical starboard marks, which is one of the more surprising realism touches in the current build.
Cardinal marks handle the weather better than laterals because their black-yellow banding creates a high-contrast pattern that punches through the whiteout. If you ever lose sight of a channel in heavy Professional Ship Simulator snow, slow to bare steerage, switch to radar with a 0.25–0.5 nm range, and line up on the nearest cardinal mark. The Professional Ship Simulator rough sea handling workflow covers how to keep a hull on a steady heading in those conditions, but the cardinal mark is the visual anchor that ties the radar picture to the chart.
Building a Buoyage Workflow That Holds Up in Any Weather
A reliable Professional Ship Simulator buoyage workflow rests on three habits: pre-transit chart review, in-transit visual + radar cross-check, and post-transit logging. Each habit compounds when the weather turns, and together they form the foundation of the Professional Ship Simulator ranks climb that most career captains chase. The habits below are drawn from community reports and the developer-supported knowledge base entries, and they assume you are piloting at least a mid-tier licence.
The Pre-Transit Buoyage Briefing
Before you cast off, open the chart interface and trace the channel you plan to take, marking every lateral, preferred-channel, and cardinal mark along the route. Note the flash phase of each one, because in fog the light phase is the only cue that survives. The chart also tells you the direction of buoyage for the harbour, which determines which side is "red to port" and which is "red to starboard" for your specific transit. Players report that spending three to four minutes on this briefing saves ten to fifteen minutes of fumbling through the channel once the weather sets in, and the habit pays off in Professional Ship Simulator weather xp because clean runs count more than messy recoveries.
The In-Transit Cross-Check
While transiting, keep the chart overlay open on a second monitor or pinned to a corner of the bridge HUD. Every time a lateral mark passes the beam, confirm on the chart that you are still on the correct side, and every time a cardinal mark appears, check the bearing against the chart heading. In reduced Professional Ship Simulator visibility, the radar with a 0.25–0.5 nm range is the second pair of eyes, but the sea filter removes small return signals along with clutter, so do not rely on it exclusively when a low port can is sitting 100 metres off the bow. The Professional Ship Simulator knowledge base notes that the sea filter is most useful in rough seas and that flat-calm fog is the one condition where the radar returns are most reliable.
The Post-Transit Habit That Compounds
After every transit, jot down which marks you misread, which AI traffic interactions felt close, and which weather conditions threw you off. The simulator does not have a built-in pilot log, but a simple text file on your desktop works. Over twenty or thirty transits, the patterns that show up are the same ones that show up in the Professional Ship Simulator ranks leaderboard data: the captains who climb fastest are the ones who fail small, fail consistently, and tighten the loop before the next outing.
Putting the Buoyage System Together with AI Traffic and Weather
The most efficient career runs treat the lateral marks, the AI traffic layer, and the weather system as a single integrated workflow, not three separate checklists. When all three are in play, a harbour transit becomes a short loop: chart briefing, depart on the correct lateral, cross-check against AI traffic at every junction, and adjust your speed and heading to match the visibility. Once that loop becomes muscle memory, the same workflow scales from a Pilot Boat in light rain to a cruise ship in dense fog, and the licence promotion gates open up much faster.
Scenario Mode as a Buoyage Training Ground
Scenario Mode is the most controllable place to practice Professional Ship Simulator buoyage because you can pin the weather to fog, pin the traffic to a busy schedule, and replay the same channel until the lateral reading becomes automatic. Community testing shows that captains who spend ten hours in Scenario Mode before attempting Career Mode fog missions clear the same mission roughly 30–40% faster on their first real attempt, because the buoyage work is already offloaded to muscle memory.
Common Buoyage Mistakes to Avoid
The most frequent mistakes players report are: crossing a port lateral by 20–30 metres and assuming the AI will yield, mistaking a preferred-channel mark for a standard lateral at a junction, and slowing down so much in fog that steering control is lost. None of these are fatal on their own, but each one costs time, weather xp, and in some cases a licence penalty. Treat every lateral crossing as a deliberate action, every junction as a right-of-way negotiation, and every fog transit as a five-knot exercise in chart reading, and the Professional Ship Simulator ranks climb becomes a matter of when rather than if.
The buoyage system is the connective tissue between the chart interface, the AI traffic, the weather xp loop, and the career-mode licence gates, which is why every experienced captain in the current build treats it as the single most transferable skill across the fleet. A Pilot Boat captain who can read a green-red-band preferred-channel mark in heavy snow can step onto a tanker bridge and apply the same workflow with only a throttle adjustment, because the markers, the rules, and the AI reactions stay consistent. The 2026 Early Access build still has rough edges in the traffic AI and the weather override, but the IALA-A buoyage layer is one of the most stable systems in the game, and it is the foundation every other navigational skill rests on.
Frequently Asked Questions
What is the difference between port and starboard lateral marks in Professional Ship Simulator?
Port lateral marks are red cylindrical cans kept to port when returning from seaward, while starboard lateral marks are green conical shapes kept to starboard. Reversing the direction of buoyage flips the rule, so always check the chart's direction arrow before entering a channel. In fog, the light phase is the only reliable cue, and misreading a single green flash as a 2+1 preferred-channel flash can send you across the wrong side of a junction.
How does AI traffic react when I cross a lateral mark incorrectly?
Small hulls will slow, sound one short blast, and alter course to open water, while mid-tier vessels hold course and sound five short blasts. Large hulls like tankers and cruise ships generally hold course, sound five short blasts, and may log the incident with harbour control, so crossing a lateral by more than 50 metres is rarely a clean recovery. Staying on the correct side of the marked channel is the only reliable way to avoid these interactions, especially in restricted Professional Ship Simulator visibility.
Does Professional Ship Simulator rain or snow change how I should read the markers?
Yes. Professional Ship Simulator rain softens the light bloom and adds wheel feedback, while Professional Ship Simulator snow can whiten the daymark caps and scatter light in every direction. In both cases, slow the vessel, switch to a tighter radar range, and lean on the chart overlay to confirm your lateral position. The light phase remains accurate even in heavy precipitation, so memorising the flash rhythms is the fastest path to safe transit.
How does weather affect Professional Ship Simulator weather xp from buoyage missions?
Weather xp scales with the severity of the conditions, with heavy snow and dense fog offering the highest multipliers in the current build. A clean transit in fog can earn two to two-and-a-half times the xp of a clear-weather run, but the same fog also punishes sloppy buoyage work, so the captains who climb the licence ladder fastest are usually the ones who treat the xp bonus as a side effect of doing the reading right. The Professional Ship Simulator ranks page breaks down how those multipliers stack across mission types.
Can I rely on radar alone to read the channel in fog?
Radar is a powerful backup, but the sea filter removes small return signals along with clutter, so a low port lateral can disappear from the picture entirely. The best approach is to pair radar with the chart overlay and the light phase on each marker, which keeps the picture consistent even when one of the three inputs fails. In dense fog, reducing speed to bare steerage and lining up on the nearest cardinal mark is the safest fallback, and the Professional Ship Simulator rough sea handling workflow covers how to keep the hull on a steady heading in those conditions.