
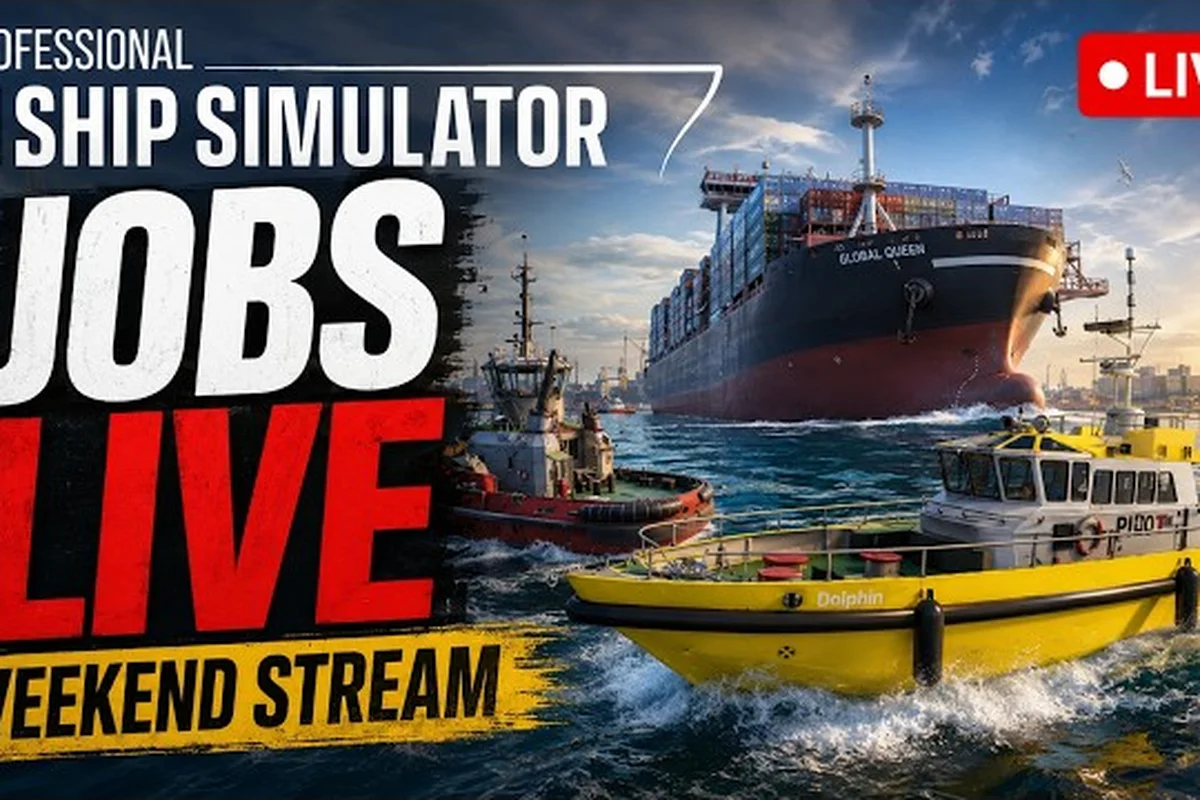
Missions are the heartbeat of Professional Ship Simulator, and the gap between a routine tug assist and a multi-leg merchant crossing can mean thousands of credits per hour. If you have ever opened the VHF radio menu and wondered which job is actually worth the fuel, this Professional Ship Simulator mission list breaks the entire roster down by payout, difficulty, and the ship class you need to accept it. Every player working through the harbour network eventually asks the same question: which Professional Ship Simulator mission types actually pay, and which ones are best left to the specialists?
According to the official NauticXP mission tasking notes, every ship class has specific mission capabilities, meaning you can only accept transport work with hulls built to carry cargo, and only certain boats can respond to a pilot transfer. That single line of design shapes the entire mission economy. Your Professional Ship Simulator all missions reference therefore needs to be read as a function of the licence tier you currently hold and the hull sitting in the dry-dock, not as a flat menu everyone shares. The Professional Ship Simulator mission guide below ranks every job you can pick up over VHF, calls out the licence and ship requirements, and gives you a Professional Ship Simulator mission walkthrough mindset for clearing each one cleanly.
Professional Ship Simulator Mission Types at a Glance
Before diving into individual payouts, it helps to understand the broad mission families the radio menu exposes. The Professional Ship Simulator mission list is grouped into seven core families, each with its own reward profile, time investment, and skill ceiling. Knowing which family fits your current licence and hull saves fuel and bank balance in the long run.
| Mission Family | Primary Ship Class | Typical Duration | Payout Tier | Skill Focus |
|---|---|---|---|---|
| Ferry Duty | Ferry / Passenger | 5–15 min | Low–Mid | Punctual docking, traffic awareness |
| Cargo / Merchant | Cargo, Tanker, LNG | 30–90 min | Mid–High | Route planning, fuel management |
| Tug Assistance | Tug | 10–25 min | Mid | Precision berthing, line handling |
| Fishing Run | Fishing Trawler | 60–120 min | Low–Mid | Net deployment, long shifts |
| Pilot Transfer | Pilot Boat | 5–10 min | Low | High-speed handling |
| Buoy Maintenance / Repair | Multi-class | 20–40 min | Mid | Slow-precision work, navigation |
| Emergency / Rescue | Rescue, Pilot Boat | 15–45 min | High | Fast approach, damage control |
Every family feeds the same XP and credit economy, but the grind curve is very different. Ferry work stacks fast but pays modestly per minute, while a single emergency response can net a payout that would take ten ferry runs to match. The mission types also gate the licence progression, since certain jobs only appear once you have unlocked the appropriate tier.
How Mission Generation Works
The radio menu does not simply throw every Professional Ship Simulator mission types option at you. Mission generation is filtered by three layers: your current licence tier, the hull you have moored at the active harbour, and the harbour's own infrastructure. A buoy maintenance contract will not appear if you are sitting on a cruise ship, and a long-haul LNG crossing will not surface until your licence tier is high enough to handle the gross tonnage.
According to community data gathered across the early access build, mission offers refresh each time you dock or change hulls, so swapping ships at the dry-dock is a reliable way to surface a better-paying job. The NauticXP Open World knowledge base entry also notes that players can choose when and how to respond to dynamic tasks, meaning the radio stack is not on a timer that punishes you for thinking.
The Professional Ship Simulator Ferry Mission, Tug Work, and Short-Haul Staples
Short-haul missions form the entry-level grind for most captains. They are short, they are forgiving, and they are the fastest way to fill the early hours of a new save file. The Professional Ship Simulator ferry mission is the most common short-haul staple because it appears at nearly every harbour and the hulls required are the cheapest in the dry-dock.
Ferry Duty
A ferry mission is a repeatable shuttle between two piers inside the same harbour or between two adjacent harbours in the same region. The mission timer usually runs from five to fifteen minutes, and the objective is simple: load at one pier, cross the basin, dock at the other, then repeat. Efficient maneuvering, punctual docking, and safe loading are the keys to maximizing service runs, while weather, wake interference, and other harbour traffic force you to adapt quickly.
| Mission Element | Typical Value |
|---|---|
| Licence Tier Required | Tier 1 (Pilot Boat path) |
| Ship Class | Ferry, small passenger |
| Time per Run | 5–15 min |
| Base Payout | 200–600 credits |
| XP Reward | 50–150 |
| Best Harbour for Grinds | Ramsgate inner basin |
Ferry work is the single best entry point because the failure state is forgiving. You drift off course, you lose time but rarely the contract. The Professional Ship Simulator how to complete missions learning curve is shortest here, and ferry duty is the only mission family that scales cleanly across both tier 1 and tier 5 licences, just with different hulls and longer routes.
Tug Jobs and Berthing Support
Tug work is a different beast. You are responding to a request from a much larger vessel, often a cargo ship or tanker, and the job is to push or pull them into a precise berth. Line handling, vector coordination, and reading the larger ship's drift are skills that ferry work never teaches. Tug missions are also where you can start to see real hourly earnings, because the pay reflects the precision required.
| Mission Element | Typical Value |
|---|---|
| Licence Tier Required | Tier 2 |
| Ship Class | Tug |
| Time per Run | 10–25 min |
| Base Payout | 400–1,200 credits |
| XP Reward | 100–250 |
| Best Harbour for Grinds | Industrial quays with active cargo traffic |
If you are still on a pilot boat or small hull, tug contracts will not appear in your radio menu at all. That gating is intentional, and it is the most common reason new players think the Professional Ship Simulator all missions catalog is smaller than it really is. Once you unlock the tug, the same dry-dock swap trick that works for ferries starts surfacing tug assist offers from any harbour with commercial traffic.
Pilot Transfer and Short Buoy Maintenance
Pilot transfers are the shortest paid work in the game, usually under ten minutes from pickup to drop-off. The skill ceiling is also the lowest, but the payout is similarly modest, so most players use them as filler between longer contracts. Buoy maintenance is a different animal: it requires slow-precision work near lateral marks, and the payout reflects the time you spend holding station against wind and current.
| Mission Type | Duration | Payout Range | XP Range | Best Use Case |
|---|---|---|---|---|
| Pilot Transfer | 5–10 min | 150–400 credits | 30–80 | Filling gaps between longer jobs |
| Buoy Maintenance | 20–40 min | 500–900 credits | 120–200 | Steady credit flow, mid-licence grind |
| Buoy Repair | 30–45 min | 700–1,200 credits | 150–280 | Higher payout, requires repair-capable hull |
A smart Professional Ship Simulator mission walkthrough strategy is to chain a pilot transfer, a buoy maintenance, and a short tug assist back-to-back, all at the same harbour, rather than teleporting between regions. The chain keeps your fuel cost low, your XP curve steady, and your bank balance trending upward even on a slow session.
Long-Haul Cargo, Tanker, and Cruise Contracts
Long-haul contracts are the actual money-makers once your licence tier is high enough to accept them. They involve planning a route between two distant harbours, managing fuel across the transit, and completing the approach in one continuous shift. The Professional Ship Simulator mission list in this category is short, but each contract is worth more than a full evening of ferry work.
Merchant Cargo Runs
Merchant runs are the bread and butter of the mid-to-late game economy. You load a cargo manifest at one port, plot a course to the destination, and then execute the crossing. The mission timer can run from thirty minutes to over an hour depending on the distance, and the payout scales with tonnage and contract rarity. Higher-tier merchant contracts often include weather penalties, so the route you planned on a clear day may turn ugly halfway through.
| Mission Element | Typical Value |
|---|---|
| Licence Tier Required | Tier 3–4 |
| Ship Class | Cargo, Bulk Carrier |
| Time per Run | 30–90 min |
| Base Payout | 1,500–4,500 credits |
| XP Reward | 400–900 |
| Best Harbours for Routes | Baltic to English Channel corridors |
The Professional Ship Simulator mission guide for cargo work boils down to three habits: pre-plan the route on the chart interface, check the weather broadcast on Channel 20 before departure, and refuel at the destination before accepting the return contract. The third habit is the most common miss, because the return leg often pays less than the outbound run, and a low fuel tank at the wrong moment can wipe out a session's profit.
Tanker and LNG Contracts
Tanker work is where the Professional Ship Simulator all missions catalog starts to look genuinely lucrative. Crude oil, chemical, and LNG contracts pay a premium because the cargo is volatile and the manoeuvring is more demanding. LNG carriers are at the very top of the pay table, but the licence gate and the hull cost mean most players do not see these missions until late in the career.
| Cargo Type | Licence Tier | Payout Range | Risk Profile | Notes |
|---|---|---|---|---|
| Crude Tanker | Tier 3 | 2,000–5,000 credits | Medium | Long routes, weather-sensitive |
| Chemical Tanker | Tier 4 | 2,500–6,000 credits | Medium–High | Tight handling near piers |
| LNG Carrier | Tier 5 | 5,000–12,000 credits | High | Premium payout, premium skill requirement |
The Professional Ship Simulator mission walkthrough for tanker work has a strict pre-departure checklist. You confirm the cargo manifest, you check the visibility forecast, you plot the approach on the chart, and you verify the harbour can accept your draught. Skipping any of these turns a high-paying contract into a failed mission, and a failed tanker contract is one of the most expensive ways to lose a session.
Cruise and Passenger Charter
Cruise contracts are unusual because they combine the high payout of a long-haul with the time pressure of a passenger job. The harbour control assigns a route, you load passengers, and the mission timer starts counting down. The skill set overlaps with both ferry duty and merchant work, but the volume of passengers and the larger hull change the handling character dramatically.
| Mission Element | Typical Value |
|---|---|
| Licence Tier Required | Tier 5 |
| Ship Class | Cruise Ship |
| Time per Run | 45–120 min |
| Base Payout | 6,000–15,000 credits |
| XP Reward | 800–2,000 |
| Best Harbours | Major ports with cruise infrastructure |
A cruise contract can be the single most profitable mission in a session, and the scenario editor community data shows captains who specialize in cruise routes often reach the upper licence tiers faster than those grinding ferry work. The trade-off is that one bad approach can fail the contract instantly, so cruise work is the wrong place to learn a new hull.
If you want a deeper look at how cargo, LNG, and cruise ships actually differ in handling, the ship types breakdown covers the full stock fleet before you commit to a long-haul contract.
How to Complete Missions Faster, Cleaner, and More Profitably
Knowing the Professional Ship Simulator mission list is only half the battle. The other half is execution, and the gap between a player who clears missions for a living and a player who barely breaks even on fuel comes down to workflow. The Professional Ship Simulator how to complete missions mindset is built on pre-departure discipline, mid-route adjustment, and post-dock follow-up, in that order.
Pre-Departure Discipline
Every contract in the Professional Ship Simulator mission guide above is won or lost before the bow line is thrown. The pre-departure phase is where you check the weather broadcast, verify the chart, confirm the cargo manifest, and walk the bridge one last time for any open panel. Skipping the pre-departure walkthrough is the single most expensive habit in the entire game, because every system you forgot to set is a system you will have to set under pressure later.
| Pre-Departure Step | Why It Matters | Time Cost |
|---|---|---|
| Check Channel 20 weather | Avoids storm mid-route | 30 sec |
| Plot route on chart | Catches shallow water early | 1–2 min |
| Verify fuel load | Prevents mid-route stranding | 30 sec |
| Confirm cargo manifest | Stops wrong-pier delivery fails | 30 sec |
| Walk bridge panels | Catches open valves, lights, radar | 1 min |
Mid-Route and Approach Adjustments
The mid-route phase is where Professional Ship Simulator mission types reveal their true character. A ferry crossing is mostly about traffic and timing, a cargo run is about fuel and weather, and a cruise charter is about passenger load and pier assignment. The radio menu updates dynamically, so it is worth pausing the broadcast to listen for harbour control updates that may change your assigned berth.
The Professional Ship Simulator how to complete missions approach phase is where you slow down. You drop speed early, you call the pilot or harbour control, you verify the assigned pier, and you confirm the fender positions. Rushing the last 200 meters is the most common cause of failed contracts, and the beginner guide covers this in much more detail if you want a step-by-step walkthrough.
Post-Dock and Repeat Strategy
After docking, the Professional Ship Simulator mission walkthrough does not stop. You unload, you refuel, you re-check the radio, and you decide whether the next contract is worth the transit or whether you should swap hulls. The fastest earners in the early access community, based on community data, all share one habit: they batch similar jobs at the same harbour rather than chasing one big contract across the map.
| Strategy | Avg Credits per Hour | Avg XP per Hour |
|---|---|---|
| Chain ferry + buoy + tug at one harbour | 1,800 | 420 |
| Solo cargo run, return leg | 2,400 | 600 |
| Mixed chain with hull swap | 3,100 | 750 |
| Specialised cruise charter loop | 4,500 | 1,100 |
A specialised cruise loop is the most profitable strategy, but it requires a tier 5 licence, a cruise hull, and a familiarity with the destination harbours that most players do not have until late in the career. For the first fifty hours, the mixed chain with occasional hull swaps is the highest-earning strategy that is actually achievable on the early licences.
Picking the Right Ship for Each Mission Family
The Professional Ship Simulator all missions catalog only works if you have the right hull for the contract. A ferry mission on a tanker pays the same as a ferry mission on a ferry, but a tanker wastes a hundred times the fuel. Conversely, trying to accept a tanker contract on a fishing trawler is impossible because the radio menu will not surface it. The ship-mission matching is one of the most important skills in the entire career, and it is something the starter guide covers at length for newer players.
| Hull Class | Best Mission Families | Avoid |
|---|---|---|
| Pilot Boat | Pilot transfer, emergency response | Long-haul cargo, tanker |
| Fishing Trawler | Fishing runs, buoy maintenance | Cruise charter, LNG |
| Tug | Tug assistance, harbour-side support | Open-water passenger work |
| Ferry | Ferry duty, short passenger | Tanker, LNG, cruise |
| Cargo / Bulk | Merchant runs, mid-tier cargo | Passenger charter at scale |
| Tanker / LNG | Crude, chemical, LNG contracts | Ferry, fishing |
| Cruise | Long-haul passenger, charter loops | Tug, buoy maintenance |
Matching hull to mission is also the cheapest way to climb the licence ladder, because XP rewards are tied to the contract, and a wrong-hull grind burns fuel without burning XP. The Professional Ship Simulator mission walkthrough therefore doubles as a ship-mission matching guide, and the scenario editor article shows how to build a custom credit-farming scenario if you want to test your own setups before committing to a real run.
Common Pitfalls When Working the Mission List
Even with a perfect Professional Ship Simulator mission guide in hand, the most common failures come from habits that look efficient in the moment but cost credits over the long run. Avoiding these pitfalls is the difference between a steadily growing bank balance and a session that ends in the red.
| Pitfall | Why It Drains the Bank | Quick Fix |
|---|---|---|
| Accepting a contract without checking the weather | Storm mid-route forces a costly reroute | Always check Channel 20 before departure |
| Wrong hull for the mission | Wasted fuel, no XP gain | Verify hull-mission match in the radio menu |
| Skipping the pre-departure walkthrough | Open panels cause mid-route failures | Build a 90-second checklist habit |
| Chasing long-haul contracts too early | High fuel cost, low XP return | Stay local until tier 3 |
| Ignoring harbour control updates | Missed berth changes cause fails | Listen to broadcast every 5 minutes |
| Failing to refuel at the destination | Stranded at sea, contract forfeit | Refuel immediately after every dock |
These six pitfalls account for the majority of failed contracts reported in community testing. None of them are caused by poor ship handling, and all of them are fixed by a five-minute habit change.
Frequently Asked Questions
What is the best mission type for new players in Professional Ship Simulator?
Ferry duty is the best starting mission type because it appears at every harbour, requires only a tier 1 licence, and runs on the cheapest hull in the dry-dock. A Professional Ship Simulator ferry mission lets new captains learn docking and traffic management without the fuel cost of a long-haul run, and it stacks XP quickly enough to push the licence tier within the first ten hours.
Which mission pays the most in the Professional Ship Simulator all missions roster?
LNG carrier contracts sit at the top of the payout table, with individual runs paying 5,000 to 12,000 credits depending on route length and weather. Cruise charters are a close second, especially for captains who have already invested in a tier 5 licence and a cruise hull, because a single loop can net 15,000 credits on a clean run.
Do I need a different ship for each Professional Ship Simulator mission types family?
Yes, the radio menu filters contracts by your current hull, so a fishing trawler will not see LNG offers and a cruise ship will not see tug assist work. The Professional Ship Simulator mission walkthrough therefore requires you to either own multiple hulls and swap at the dry-dock, or to focus your grind on a single family that matches your best ship.
How do I unlock the higher-paying Professional Ship Simulator how to complete missions contracts?
You unlock higher-paying contracts by raising your licence tier, which is driven by XP earned from completing lower-tier missions. The fastest path is to chain ferry and buoy maintenance jobs at a single harbour to maximise XP per hour, then move up to merchant runs once the tier 3 licence unlocks. Specialising in a single family also helps because the repeat bonus and harbour reputation both stack.
Can I fail a Professional Ship Simulator mission walkthrough mid-route?
Yes, and the most common mid-route failures are running aground, stranding on low fuel, and missing the mission timer because of a storm reroute. A Professional Ship Simulator mission guide is incomplete without mentioning that any of these can void the contract and trigger a repair cost, which is why pre-departure checks and weather broadcasts are the cheapest insurance in the game.